
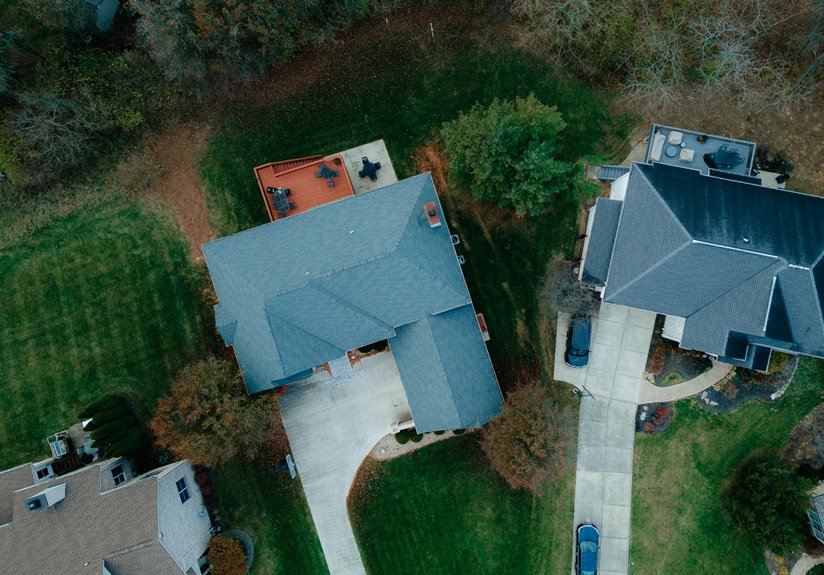
Before pouring a foundation, you’ll need to call your local planning department and confirm whether your backyard project qualifies as an ADU, accessory structure, or THOW—rules vary wildly by location. Next, decide on permanent foundation or wheels, since that choice determines your permit path and which agencies inspect your work. Keep your tiny home under 400 square feet with 6’8″ ceilings, submit certified plans, schedule inspections at framing and rough-in stages, then coordinate utility hookups. Document everything: permits, approvals, inspection reports. Skip these steps upfront, and you’re risking stop-work orders or thousands in rework—but follow through, and you’ve got a clear roadmap forward.
Confirm Your Local Zoning Laws Before You Build
Before you get excited about that tiny home sitting on your backyard lot, you’ve got to do the unglamorous but absolutely critical work of checking your local zoning laws—and I mean really checking them, not just assuming you know what’s allowed.
Here’s the thing: zoning rules differ wildly depending on where you live. Your neighbor’s ADU might be totally legal, but yours could violate setback requirements or lot coverage limits. Call your local planning department and ask whether your detached backyard unit qualifies as an ADU or gets classified differently. Request a pre-application consultation—many communities offer these to help you navigate building permits and requirements.
Get written confirmation before purchasing anything. Seriously. This step prevents costly enforcement issues down the road and aligns your project with your area’s specific codes.
Learn How ADUs, THOWs, and Tiny Homes Differ Legally
I’ve found that understanding the legal distinctions between ADUs, THOWs, and traditional tiny homes is necessary before you build, because each classification triggers completely different permit requirements, building codes, and foundation rules in your jurisdiction. An ADU on a permanent foundation typically gets treated as a residential structure under standard building codes, while a THOW—that’s a tiny home on wheels—usually falls under RV or ANSI safety standards instead, which means state registration rather than a residential permit and restrictions on where it can sit. The foundation type matters significantly: if you’re building a fixed tiny home on your property, you’re generally looking at ADU approval and residential codes, but if you’re considering anything moveable, you’ll likely need to verify whether your area even allows THOWs or classifies them as park models with their own rulebook.
ADU vs. THOW Classifications
When you’re figuring out what type of tiny home you can actually build in your backyard, the legal classification matters more than you’d think—it’s not just a naming thing, it’s the difference between getting a permit approved in weeks or spending months battling zoning boards.
Here’s what separates them:
- ADUs are permanent structures meeting residential codes, with easier zoning approval if they fit your property’s requirements
- THOWs are wheeled units classified as RVs, typically restricted to RV parks unless you secure variances
- IRC Appendix Q applies to tiny homes under 400 square feet, but enforcement varies by jurisdiction
Your location’s zoning laws and building department determine which classification applies. Some jurisdictions treat small permanent structures as ADUs automatically; others require third-party certification. Understanding these distinctions before designing saves you headaches and money later.
Legal Implications By Foundation Type
Why does your tiny home’s foundation matter so much legally? Because it determines everything about your permits and future flexibility. If you pour a permanent foundation, your project becomes an ADU under local building codes—you’ll need residential permits, inspections, and occupancy approval. That permanence locks you in, but it’s legitimate and long-term stable. Choose wheels instead, and you’re looking at a THOW classified as an RV, requiring motor-vehicle approvals and different hookup rules. Neither path is wrong; they’re just fundamentally different. Your foundation choice reshapes which agencies oversee your build, what inspections you’ll face, and whether you can ever relocate. Before digging or ordering materials, verify with your local planning department which foundation type your jurisdiction actually allows.
Keep Dimensions Within IRC Limits: 400 Sq Ft, 6’8 Ceiling Height, Standard Framing
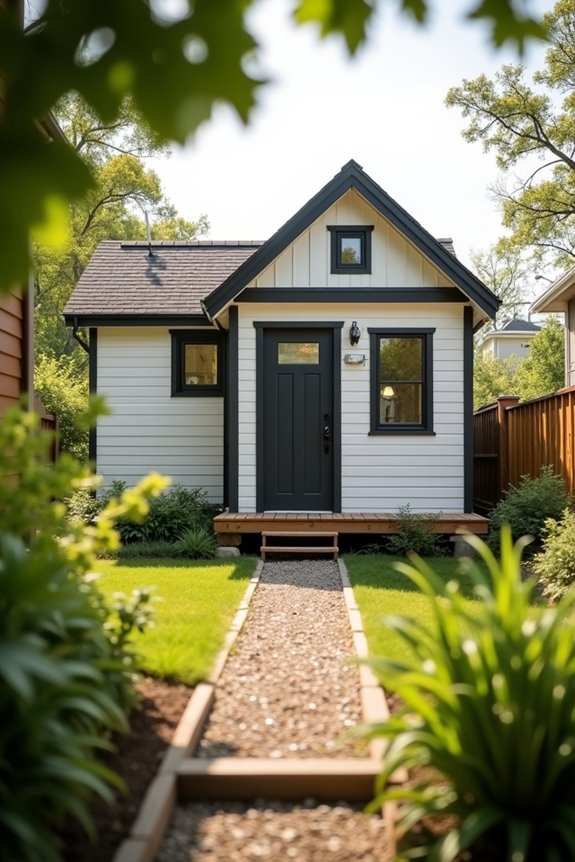
The International Residential Code’s 400-square-foot maximum isn’t just some random number—it’s the threshold that keeps your backyard tiny home firmly planted in residential territory, which means you’ll face fewer regulatory headaches than if you pushed beyond it. I’ve learned that staying compliant with IRC 400 sq ft limits protects you legally. Here’s what you’ll need to nail down:
- Keep total floor area at or under 400 square feet, including all livable space
- Maintain a minimum 6’8 ceiling height throughout, providing comfortable headroom
- Use standard framing methods that inspectors recognize and approve immediately
These dimensions aren’t restrictive—they’re practical. Standard framing works perfectly at this scale, and permits flow smoothly when you’re hitting these marks. You’re building smart, building legal, and joining the tiny home community doing things right.
Get Your Building Permit and Book Inspections
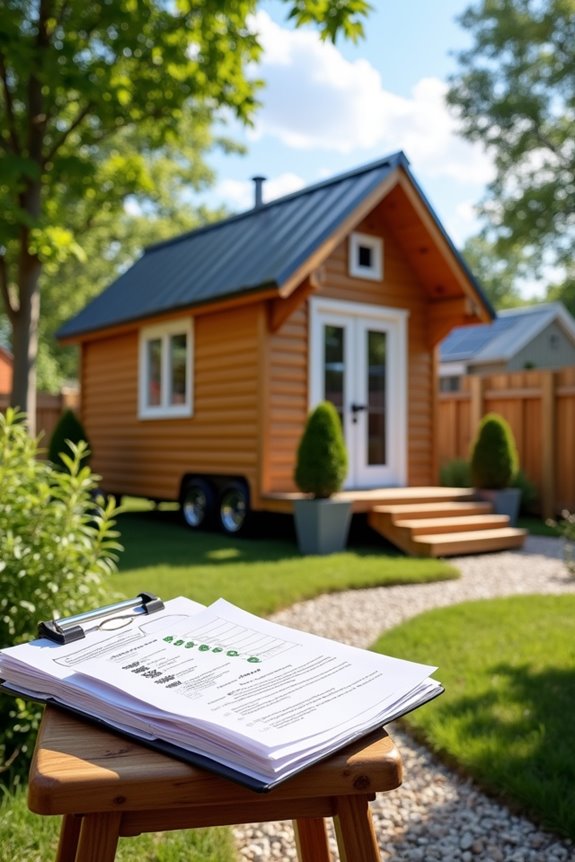
How do you actually move from planning to construction without running into legal trouble? You’ll need a building permit—no way around it. Contact your local planning department to understand code compliance requirements specific to your area. Submit your permit application with certified plans, energy forms, and utility documentation. Yeah, it’s paperwork-heavy, but it protects you legally.
Inspections happen at critical milestones: after framing, during rough-in electrical and plumbing work, and before final occupancy. These are checkpoints confirming your tiny home meets standards. Schedule each inspection in advance so inspectors can assess your work properly.
Your jurisdiction’s zoning rules determine whether you’re building an ADU or another structure type, plus setback and parking requirements. Confirm everything upfront. Permitting takes time and patience, but skipping it invites fines and complications you don’t want later.
Decide: Is Your Backyard Tiny Home Permanent or Mobile?
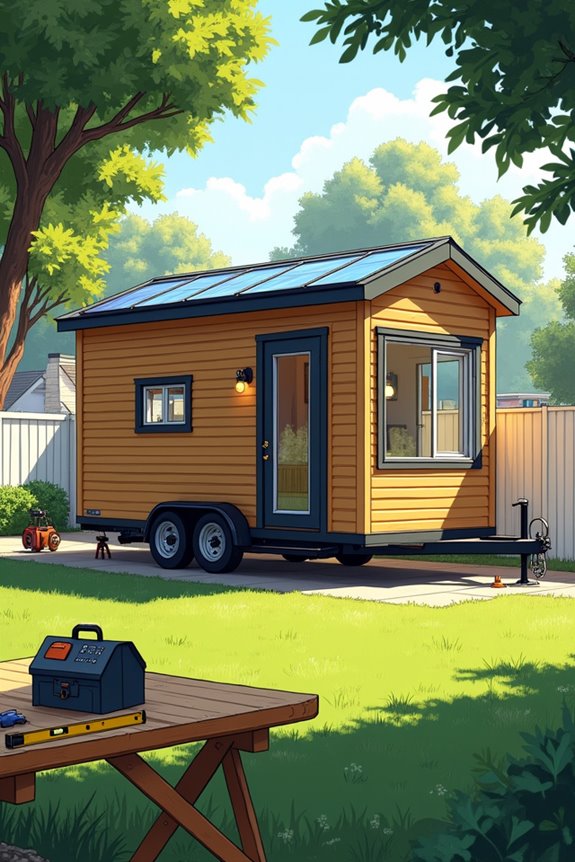
The biggest decision you’ll make isn’t about size or style—it’s whether your tiny home sits on a permanent foundation or wheels, because that choice fundamentally changes which building codes apply, what permits you’ll need, and how long you can actually live there. If you go permanent, you’re looking at traditional residential permits, utility hookups, and strict setback rules that tie your project to local zoning laws, but you gain the stability of a real ADU that builds equity. Mobile units on wheels avoid some of those requirements and offer flexibility, though they come with RV registration complications and occupancy restrictions that might limit how permanently you can call it home.
Permanent Foundation Implications
Permanent Foundation Implications
Your foundation choice fundamentally shapes what your backyard tiny home becomes legally—and that decision ripples through every permit requirement, inspection standard, and future possibility you’ll face.
When you build on a permanent foundation, you’re choosing the path toward legitimacy and stability. Here’s what that means for you:
- ADU eligibility and higher safety standards become available, opening doors to longer-term residency options
- Full building code compliance replaces RV standards, requiring structural calculations and site plans through formal permits
- Stricter inspections and costlier foundations demand upfront investment, but deliver lasting value
Your permanent-foundation unit becomes traditional housing rather than mobile property. You’ll need utility connections approved officially, setback compliance confirmed, and zoning verified early with your local department. Contact them now—they’re your partners in making this legal and lasting.
Mobile Unit Restrictions
Now that you’ve settled on your foundation strategy, you’re facing a decision that’ll reshape your entire permitting path: is this backyard tiny home staying put on a permanent foundation, or are you building it on a trailer so you can move it later?
If you choose mobile—what’s called a THOW—you’re entering RV territory legally. That classification often means your permits, inspections, and utility hookups follow RV standards rather than residential codes. The limitation: many jurisdictions restrict THOWs to RV parks or temporary stays, limiting permanent residency on your own lot.
Before committing to wheels, contact your local planning department. Confirm whether your zoning allows long-term occupancy for mobile units. Some areas demand special permits; others flatly prohibit them as primary dwellings. This conversation determines everything ahead.
Foundation Choice Affects Permits
How you build your foundation—concrete slab, pilings, trailer frame—fundamentally changes which permits you’ll need and how inspectors’ll evaluate your tiny home.
Your foundation choice determines your entire permitting path. Here’s what shifts:
- Permanent foundations trigger full residential building codes, higher safety standards, and ADU eligibility in many jurisdictions
- Wheeled units often fall under RV classifications with simpler permits but strict temporary-use restrictions
- Local requirements vary dramatically—some areas demand grade work and drainage systems; others don’t
A permanent foundation means separate utility hookups, tie-downs, and drainage infrastructure specific to your site. Wheeled homes skip some of this but face zoning restrictions instead.
Your foundation decision affects whether inspectors’ll approve your backyard dwelling as a legitimate ADU or classify it as an accessory structure. Before pouring concrete or ordering a trailer frame, contact your local planning department. They’ll confirm which foundation type aligns with your Zoning/Code compliance and ADU eligibility. This conversation prevents months of setbacks later.
Confirm Setback Rules Specific to Backyard Structures
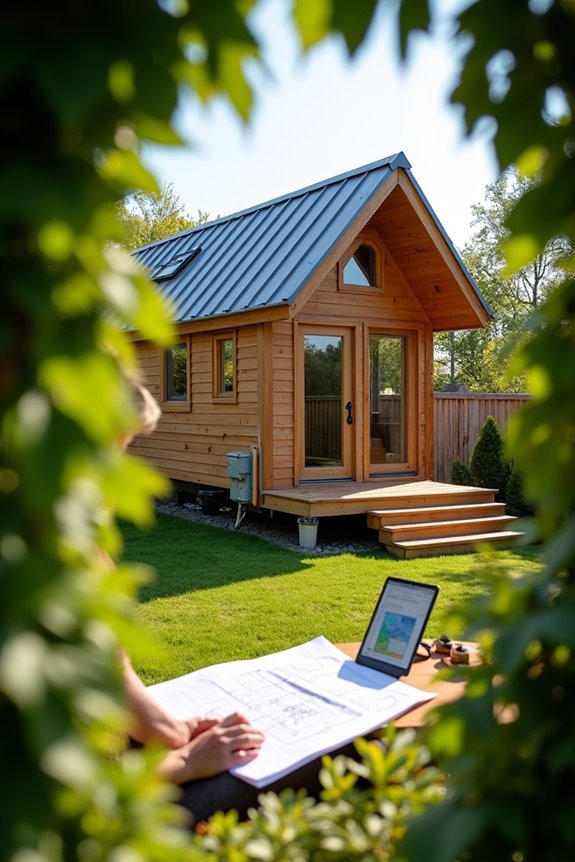
Where exactly can I place my tiny home on my lot? That’s where setbacks come in—they’re the required distances between your structure and property lines, and they’re non-negotiable according to local zoning codes.
I’ve learned that setbacks vary considerably depending on whether your structure’s classified as an ADU, accessory structure, or THOW. Most jurisdictions require 5 to 10 feet from side and rear property lines, though some demand additional restrictions for easements or floodplain buffers.
| Classification | Side Setback | Rear Setback | Front Setback | Typical Use |
|---|---|---|---|---|
| ADU | 5 ft | 10 ft | 20 ft | Primary dwelling |
| Accessory Structure | 5 ft | 5 ft | 15 ft | Guest house |
| THOW | 10 ft | 10 ft | 25 ft | Mobile tiny home |
Before finalizing plans, I always contact my local planning department directly. They’ll clarify exact measurements specific to my lot type, keeping my backyard project fully compliant with local regulations.
Adapt Utility Lines for a Backyard Build
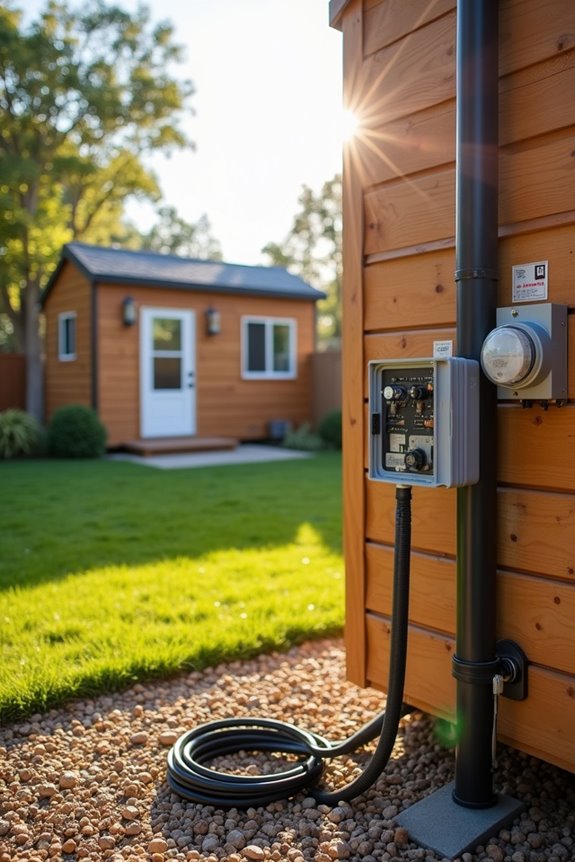
What’s often the most overlooked—and expensive—part of a backyard tiny home? Your utility hookups. I learned this the hard way: skipping early planning costs thousands later.
Utility hookups are the overlooked expense that’ll drain your tiny home budget fast—plan early or pay thousands later.
Here’s what I tackle first:
- Electrical connections – extending a subpanel or installing a separate meter runs $1,000–$5,000 depending on distance and local rules
- Water and sewer options – tying into existing lines, installing septic systems, or drilling wells each require different permits and inspections
- Off-grid systems – solar setups reduce municipal dependence but demand careful certification and ADU zoning compliance
Your jurisdiction’s permit process will require inspections. I’ve found that getting third-party certification early prevents headaches. Whether you’re grid-connected or exploring hybrid solutions, understanding trenching depths, metering requirements, and local codes upfront makes this daunting phase into manageable steps. You’re not alone navigating this—we’re all figuring it out together.
Get HOA Approval and Review Property Deed Restrictions
Before you break ground on that backyard tiny home, you’ll need to clear a significant hurdle that often blindsides builders: your HOA might have rules that make local zoning laws look permissive. I’d recommend pulling your deed restrictions and covenants immediately—they’ll spell out setbacks, lot coverage limits, and whether detached structures are even allowed. Many HOAs ban living spaces outright or require architectural approval. Contact your HOA board directly and request a formal review of your plans. Document everything in writing. If your design conflicts with existing covenants, explore the variance process, which lets you request exceptions. Having an attorney review your deed and CC&Rs before investing time and money saves frustration later. This step determines whether your tiny home project moves forward.
Budget for Construction, Permits, and Compliance Costs
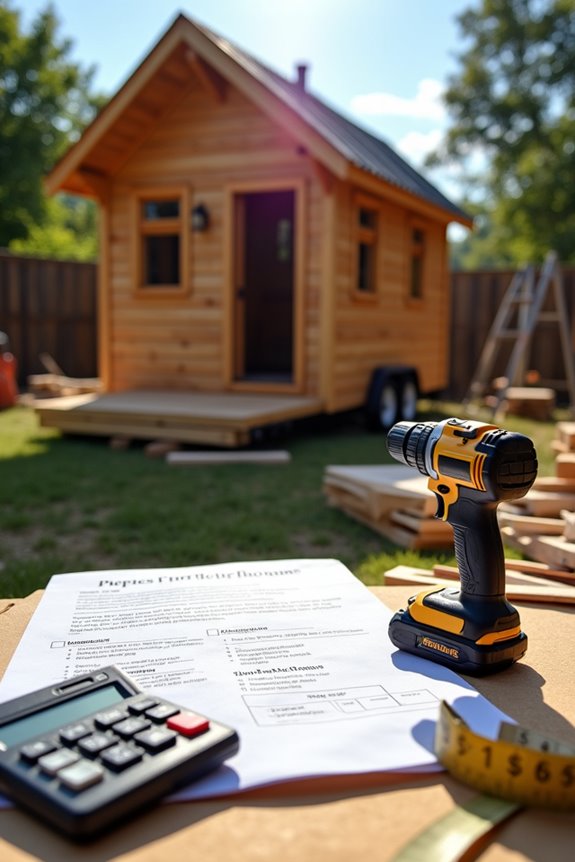
Building a tiny home in your backyard means you’ll need to account for three major budget categories: permit and inspection fees (usually a few hundred dollars, though they vary by location and project scope), the actual construction materials themselves, and a contingency fund for surprises that’ll almost certainly pop up once you start planning utilities. Separating these costs mentally helps you avoid sticker shock—permits feel like bureaucratic overhead, but materials and labor are where your budget really gets tested, especially if your soil conditions or local energy requirements demand extra documentation. Setting aside 10–15% extra for contingencies and utility connections is practical planning that keeps a tight budget from derailing your whole project.
Permit And Inspection Fees
How much will you actually spend on permits and inspections? Your costs depend heavily on location and project scope, but these expenses break down predictably:
- Permit application fees range from a few hundred to several thousand dollars
- Inspection visits during construction typically occur bi-weekly at no extra charge
- Final occupancy inspection completes the process before you move in
ADU regulations require specific documentation—plumbing calculations, electrical specs, and building code compliance proof. Some jurisdictions demand third-party certification, which adds cost but helps utilities accept your setup faster. You’ll coordinate with water, sewer, and electrical providers, potentially paying for separate meters or subpanels. The inspection schedule accompanies your permit approval, so you’ll know exactly when inspectors visit. Planning these fees upfront prevents budget surprises and keeps your backyard project on track legally.
Construction Material Expenses
Once you’ve sorted out permits and inspections, you’ll face the biggest part of your budget—the actual materials and labor that’ll build your backyard vision into reality. Material costs typically range from $80,000 to $150,000 for a turnkey tiny home, though high-end builds can exceed $200,000 depending on your region and builder choices.
Your foundation type makes a significant difference here. Permanent foundations cost more upfront but affect permits, long-term maintenance, and resale value differently than trailer-based designs. ADU rules in your area might require additional expenses for architectural compliance and landscaping to meet setbacks and parking requirements.
Think of material costs as interconnected—your foundation choice, local regulations, and compliance standards all ripple through your final bill. Plan accordingly.
Contingency And Utility Planning
Because construction rarely goes exactly as planned, you’ll want to set aside a cushion—most builders recommend padding your total budget by 10–20% to cover those surprise expenses that’ll inevitably pop up.
Here’s what your contingency planning needs to address:
- Permitting costs range from hundreds of dollars upward, depending on your jurisdiction’s requirements for site plans, structural calculations, and inspections.
- Utility connections demand attention—budget for electrical subpanels, water/sewer hookups or septic systems, plus separate meter fees; trenching typically runs about 24 inches deep.
- Zoning compliance might require third-party certification or ADU classifications that influence permit approvals and utility acceptance.
Permit timelines vary significantly. Some jurisdictions move quickly, while others demand weeks or months for reviews and hearings. Factor these costs and delays into your planning now—accounting for them upfront prevents problems later.
Document All Approvals and Keep Records Organized
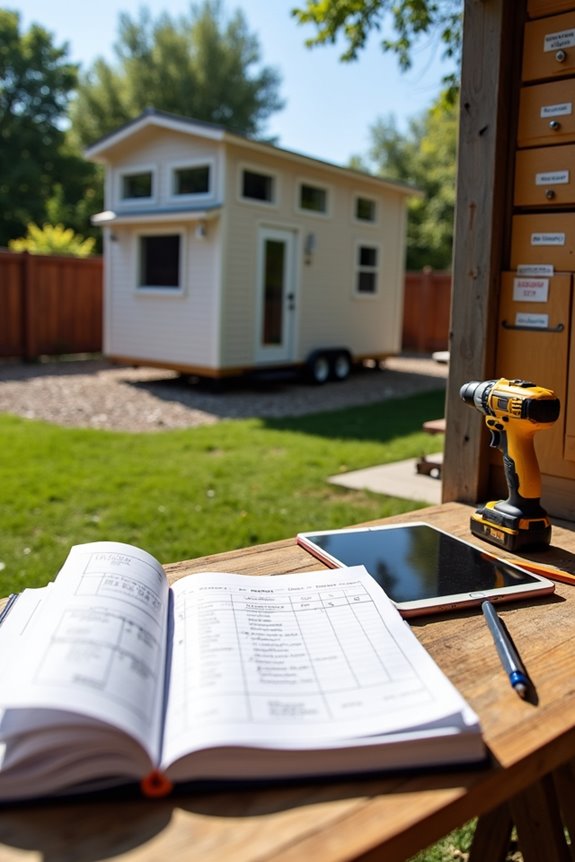
If you’re serious about protecting yourself down the road, you’ll want to create a centralized folder—whether it’s a physical binder or a digital file system—that holds every single piece of paper from your project. I’m talking permits, approvals, site plans, foundation details, energy calculations, everything. Track each approval type—ADU, THOW, RV, or permanent foundation—along with its specific requirements so you know exactly what inspectors expect. Document submission dates, review timelines, and revisions. Keep copies of utility hookups, inspection reports with inspector names and dates, and occupancy certificates. When officials question your work later—and they might—you’ll have solid documentation proving compliance. This organized records system isn’t just bureaucratic busywork; it’s your legal protection and your reference guide for modifications.
Sidestep Costly Mistakes When Building Your Backyard Tiny Home
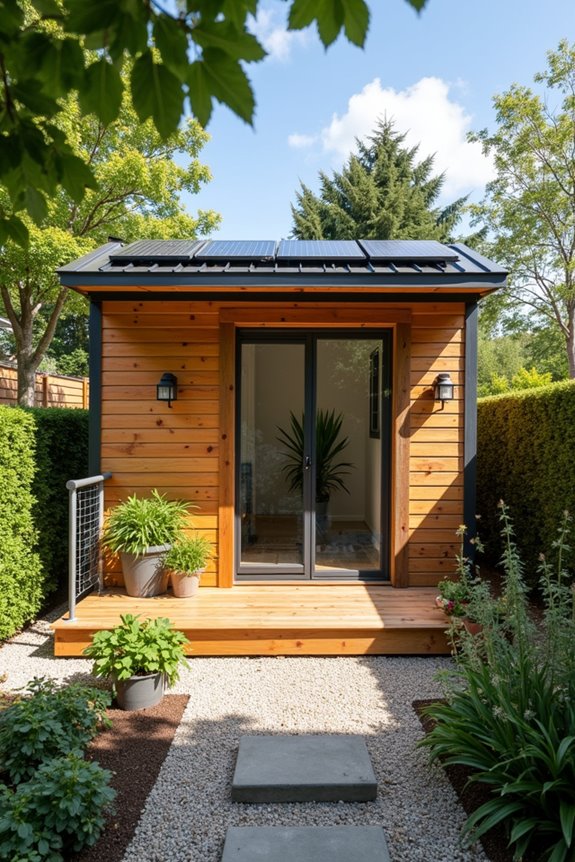
Your organized records are solid protection, but here’s what I’ve learned: most backyard tiny home problems don’t come from poor documentation—they come from not asking the right questions before you break ground.
I’ve seen folks waste thousands by skipping these critical steps:
- Verify local zoning rules early – Call your planning department and ask specifically if your backyard qualifies as an ADU, not just whether tiny homes exist in your area.
- Confirm utility connections before permits – Contact water, sewer, and electricity providers separately; don’t assume they’ll serve your property without checking infrastructure distance and costs.
- Secure written pre-approval – Get permits in writing before construction starts, confirming classifications and compliance requirements.
Starting conversations with local authorities and licensed land-use professionals upfront protects your investment and prevents expensive redesigns later.
When and How to Consult a Local Zoning Attorney
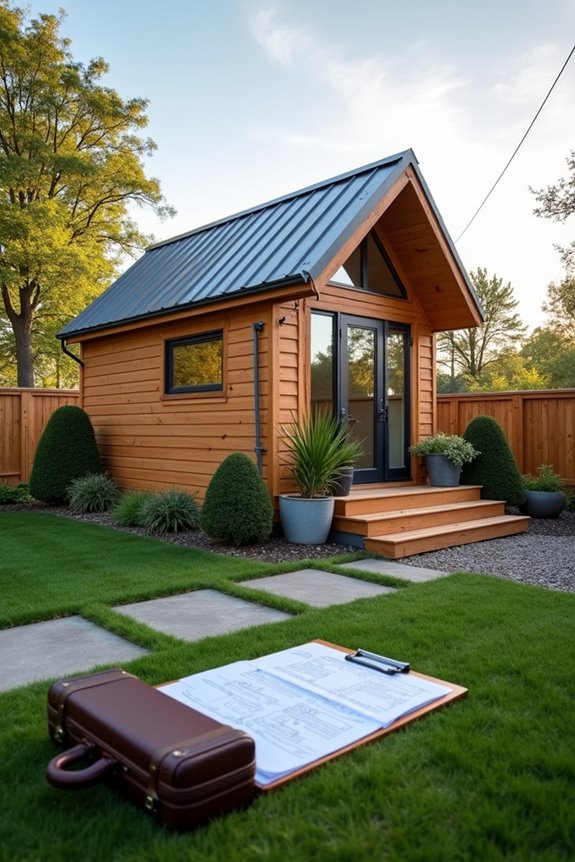
After you’ve confirmed your property’s basic zoning classification, I’d recommend talking with a local zoning attorney before you finalize your plans—and I say this from watching people backtrack on expensive designs that didn’t actually qualify. A zoning attorney interprets your local zoning codes and clarifies whether your project qualifies as an ADU, accessory structure, or something else entirely, which directly impacts setbacks and lot coverage limits. They’ll review whether IRC Appendix Q applies in your area and identify any amendments affecting foundation or height requirements. They can also draft pre-application materials and coordinate with planning staff, potentially catching hidden constraints like HOA restrictions or stormwater regulations that could derail your permits later. This early investment prevents costly surprises.
Create a Timeline From Permit Approval to Move-In
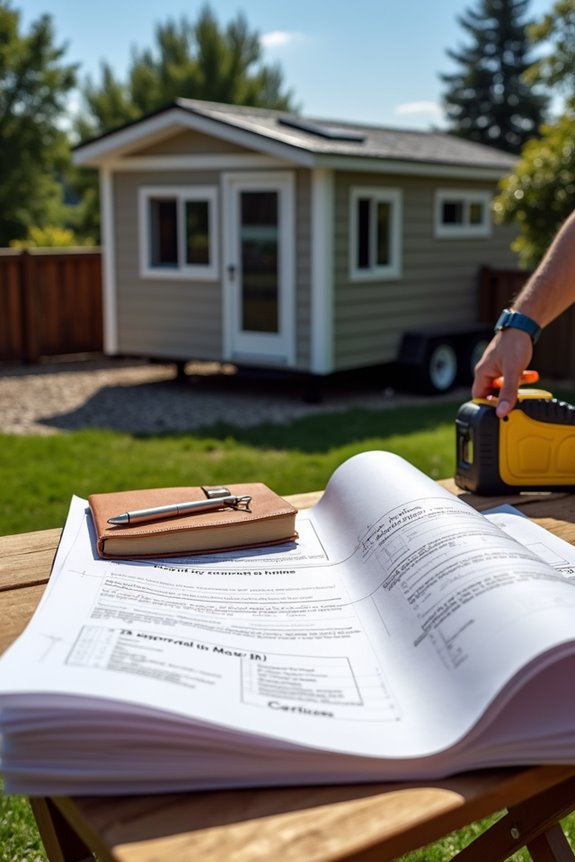
Once you’ve got your zoning attorney’s blessing and your plans locked down, the real race begins—and timing matters. Your permit timeline starts immediately after approval, and here’s what you’re working with:
Your permit timeline starts the moment you get approval—timing is everything in the building race.
- Schedule initial inspections (rough-in and final) at key construction milestones to verify code compliance
- Coordinate utility hookups for electric, water, and sewer/septic, anticipating separate permits and connection fees
- Plan your move-in window around approvals, allowing buffer time for revisions or weather delays
Expect 200–600 in permit fees plus inspection costs. The approvals process typically takes weeks, not days. Build contingency time into everything—code corrections happen, inspectors get busy, and utility companies move at their own pace. You’re part of a community of backyard builders who understand these realities. Stay flexible, document everything, and you’ll cross that finish line.