
Paint your cabinet interiors if you’ve got glass doors or open shelving—that’s where you’ll actually see the work. Otherwise, you’re doubling your labor and costs for invisible results.
Interior painting protects raw wood from moisture and warping, prevents paint dust from contaminating food, and lets you match your exterior finish for a polished look. But if your doors stay closed, skip it unless the wood’s already damaged.
The real payoff depends on visibility, timeline, and whether that pop of color matters to you.
Moisture and Water Damage: Why Interior Paint Protects Cabinet Longevity
Because kitchens are inherently humid environments—especially near sinks, dishwashers, and steam from cooking—the inside surfaces of your cabinets face constant moisture exposure that can cause real problems over time. Here’s what I’ve learned: when you skip painting the interior, raw wood absorbs moisture like a sponge, leading to warping, swelling, and eventual structural damage that’s expensive to fix.
The paint itself acts as a protective barrier, sealing wood fibers against humidity fluctuations. Solid wood doors particularly benefit from two-sided coating, preventing uneven moisture absorption that causes warping. Even non-solid interiors gain protection through balanced treatment.
I won’t lie—reaching back to coat those hidden surfaces takes extra effort and cost. But consider this investment in your cabinet’s future integrity. Moisture damage creeps up slowly, then suddenly you’re facing cabinet replacement. Interior painting prevents problems before they spiral.
Aesthetic Impact: The Pop of Color When Cabinet Doors Open

When you open your cabinet doors, that interior color hits first—and it’s either going to look intentional or like an afterthought. You can go bold with contrasting colors that surprise and delight, like pairing dark exterior cabinetry with a vibrant jewel-tone interior, or you can match your interior and exterior finishes for a modern look that appears well-designed and coordinated. Either way, you’re communicating something about whether your kitchen’s personality shows up in those hidden moments, and that choice matters more than you’d think.
Contrasting Colors For Impact
Ever notice how opening a cabinet door can feel like a missed design opportunity? I’ve discovered that contrasting colors inside of cabinets create visual interest every time you reach for dishes. When I paint my cabinet interiors in bold hues different from the exterior, I’m creating a playful surprise.
| Exterior Color | Interior Color | Effect |
|---|---|---|
| White | Navy Blue | Dramatic contrast |
| Dark Cherry | Soft Cream | Brightens dark wood |
| Gray | Sage Green | Cohesive sophistication |
The inside of cabinets becomes a design statement rather than hidden storage. Dark cherry exteriors especially benefit from lighter interiors—they prevent that “caved in” feeling. I’m not just choosing practical colors; I’m making deliberate choices about my space. This contrasting approach differentiates my kitchen and makes it distinctly mine.
Coordinating With Exterior Finishes
How do you want your kitchen to feel the moment someone opens your cabinet doors?
I’ve found that coordinating your interior paint with exterior finishes creates a unified design that feels well-planned and polished. When you match or complement your interior paint to your exterior cabinet color, you’re extending your kitchen’s visual story. This approach reduces masking work during the painting process, streamlining your entire project timeline and costs.
Think about glass-front cabinets or open shelving—they’re windows into your design choices. If your exterior finish is dark cherry, a contrasting pop of color inside brightens the space when doors swing open. By aligning these elements thoughtfully, you’re not just painting surfaces. You’re creating cohesive moments that make your kitchen feel deliberate, personal, and truly yours.
Visibility and Return on Investment: Who Actually Sees Interior Paint
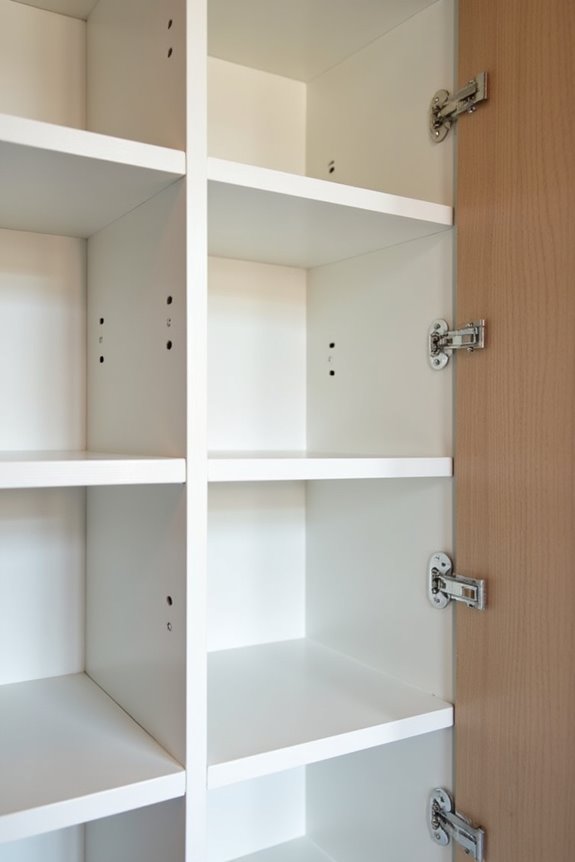
Before you commit to painting the inside of your kitchen cabinets, assess whether anyone will actually see that work. If your cabinets have glass fronts or open shelving, that interior paint becomes part of your design story and provides real return on investment. However, if your cabinet doors stay closed, that fresh coat of paint will be invisible to everyone but you. The visibility question matters because it directly affects whether this project is worthwhile. Glass-fronted cabinets should be painted. Solid wood doors that close? You might skip it unless those surfaces are stained or worn. Consider your cabinet style before investing time and money into something no one will see.
Time and Cost: How Much Effort Interior Cabinet Painting Requires
When I decided to paint my cabinet interiors, I quickly realized I’d underestimated the labor—removing doors, drawers, and hardware, then degreasing, sanding, and priming every surface takes way longer than the exterior work I’d already finished. You’re looking at extended drying windows too; if you’re using a quality finish like ADVANCE, you’ll need 16 hours between coats and up to 5 days before your cabinets are actually ready to use again, which means your kitchen remains unavailable during that period. The material costs compound fast when you’re painting inside and out—extra primer, multiple paint coats, and all those supplies add up alongside the sheer hours of labor, so it’s worth calculating whether that hidden interior detail actually justifies the time and money you’re about to invest.
Labor-Intensive Preparation Work
Why does interior cabinet painting demand so much more elbow grease than slapping paint on the outside? The preparation work is honestly brutal. You’re not just wiping down surfaces—you’re committing to a multi-step process that’ll test your patience.
Here’s what you’re actually facing:
- Removing doors, drawers, and hardware from every cabinet
- Clearing out all contents and protecting surrounding areas with drop cloths
- Degreasing interior surfaces and sanding existing finishes smooth
- Masking off awkward angles and tight spaces inside boxes
Each step adds hours to your timeline. You’re accessing corners and crevices that exterior work never touches. If old paint’s already there, you’ll sand it down, creating dust everywhere. The preparation for interior cabinets often takes longer than the actual painting itself, making this project genuinely time-consuming before you even crack open primer.
Extended Project Timeline Considerations
Because you’re working in tight, enclosed spaces with multiple surfaces that need individual attention, interior cabinet painting stretches your timeline in ways exterior work simply doesn’t. I’ve watched projects double in length once we move inside of cabinets—degreasing, sanding, priming, and applying multiple coats demands serious patience. Recoat windows matter tremendously here; some primers need up to 16 hours between coats, which means you’re waiting longer than you’d expect. Add the full curing period, and your timeline expands significantly. You’ll remove doors, hardware, and shelving to access everything properly. Masking and protecting your kitchen contents takes considerable setup time. The finish type you choose—whether ADVANCE or Cabinet Coat—directly impacts how long you’re waiting between applications. It’s demanding work that rewards careful planning.
Material and Supply Expenses
How much more are you actually spending when you decide to paint the insides of your cabinets? The costs add up faster than you’d expect. Beyond the exterior paint itself, interior work demands extra supplies that drain your budget:
- Prime and interior paint for multiple coats inside tight spaces
- Specialized brushes, rollers, and possibly a sprayer for even coverage
- Degreasing solutions and dry-laid shelf protection materials
- Curing time expenses while your kitchen sits unusable
You’re investing in primer that seals those interior surfaces properly, then layering interior paint where air circulation’s limited. Removing doors and drawers multiplies your material needs since you’re treating both sides. The reassembly phase extends your timeline further. When you calculate labor hours against supply costs, painting interiors typically doubles your overall expense compared to exterior-only work.
Color Transformation: Painting Over Dark Stains for a Modern Look
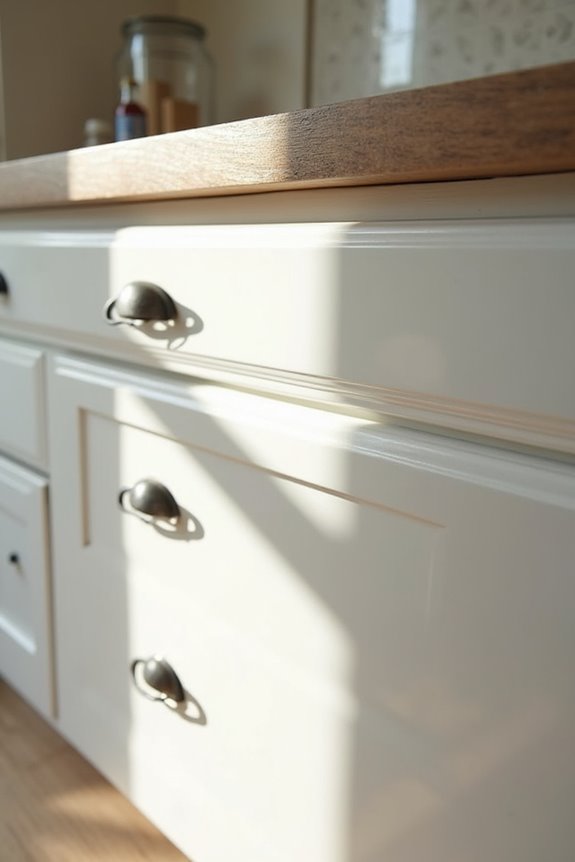
Ever opened your cabinet doors to find a dark, cave-like interior that makes you squint just to see what’s inside? That’s where cabinet painting comes in. When you paint over dark stain with white or light gray, you’re renewing the look and creating a modern kitchen that feels cohesive and bright. This change pulls everything together, particularly when glass-front doors or open shelving expose the interior color. The shift from dark stain to lighter finishes eliminates that shadowy feeling and matches your cabinet’s exterior well. Your space suddenly feels more connected and current. However, you’ll want proper prep work and sealing to prevent stain bleed on those lighter colors, keeping your investment pristine and polished.
Sealing and Safety: Protecting Food From Dust Without Proper Cabinet Paint
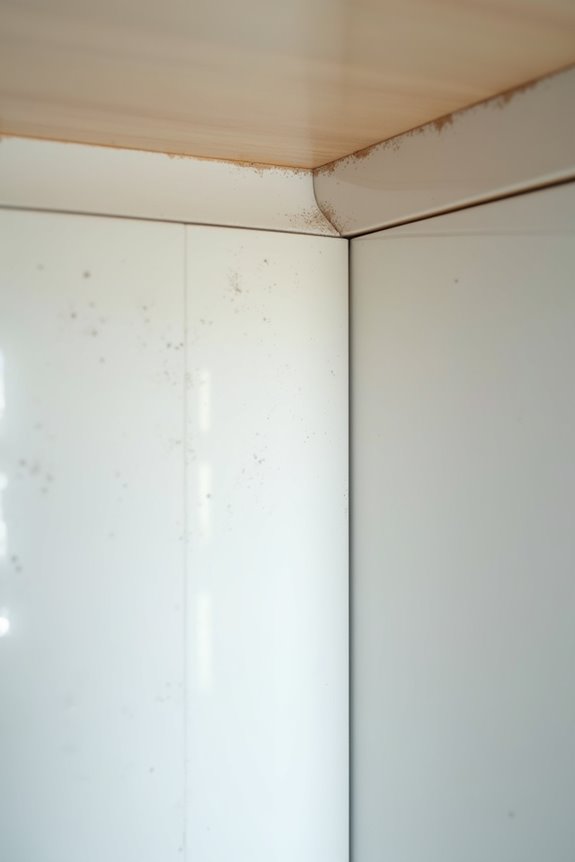
While brightening your cabinet interiors with that fresh coat of paint looks fantastic, the real work happens after the brush hits the wood—and I’m talking about protecting your food and dishes from what you can’t see.
The real work happens after the brush hits the wood—protecting your food and dishes from what you can’t see.
Here’s what keeps me up at night:
- Paint dust settling on your family’s plates without proper sealing
- Fresh paint transferring to your groceries before full curing
- Moisture sneaking behind unprotected surfaces, ruining everything inside
- Paint chips contaminating food storage areas permanently
I’ve learned that skipping a quality primer and sealer isn’t worth the risk. STIX bonding primer followed by ADVANCE interior paint creates a protective barrier. You’ll need three to five days of curing time before restocking shelves. Two-sided cabinet door painting prevents warping and strengthens moisture protection. When you commit to proper sealing, you’re protecting what matters most—your family’s health and your cabinet investment.
Personalization: Using Interior Paint Colors to Express Kitchen Style
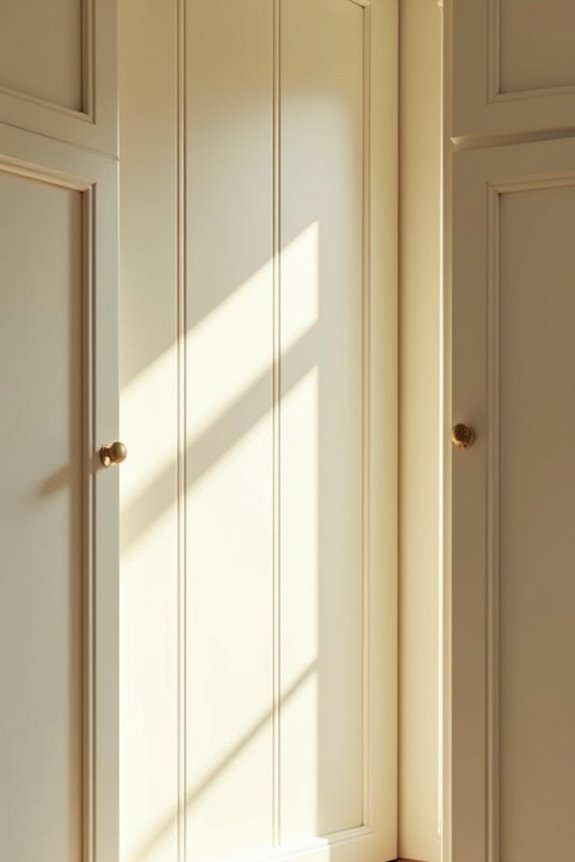
Why settle for cookie-cutter cabinets when you can personalize your kitchen from the inside out? Your cabinet interiors deserve the same thoughtfulness you’d give exterior finishes. When you paint inside surfaces, you’re creating opportunities that show who you are—not who magazines say you should be.
| Style Goal | Interior Color | Effect | Best For | Visual Impact |
|---|---|---|---|---|
| Bold Statement | Deep Navy | Contrast Pop | Glass-fronts | Drama |
| Soft Unity | Cream | Cohesive Look | Closed Doors | Calm |
| Modern Space | Pale Gray | Brightness | Open Shelving | Contemporary |
| Warm Welcome | Sage Green | Inviting Depth | Mixed Cabinets | Organic |
| Elegant Touch | Soft White | Timeless | Visible Interiors | Classic |
Painting cabinet interiors lets you express kitchen style on your own terms. You’re choosing colors that complement your countertops, backsplashes, and adjacent spaces—creating visual flow throughout your home that matches your preferences.
Professional Considerations: What Painters Wish Homeowners Knew
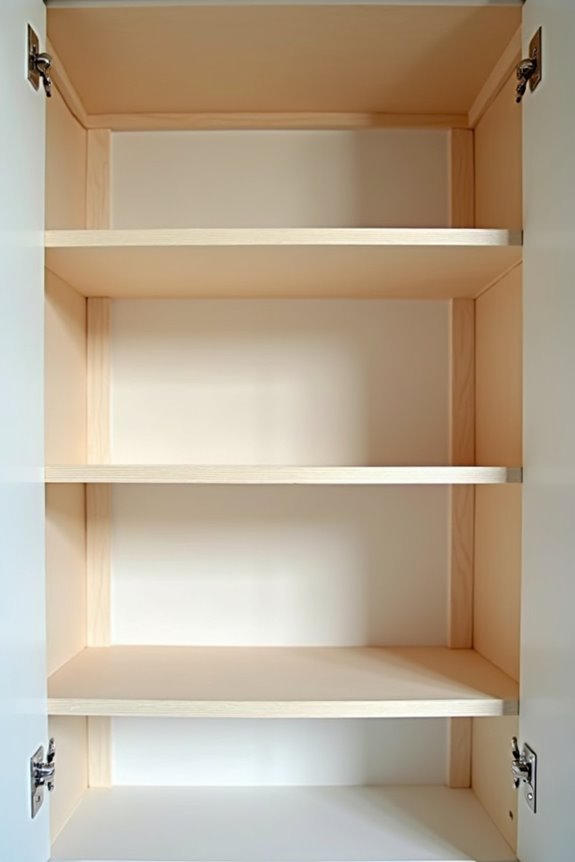
I’ve learned the hard way that interior cabinet painting takes roughly twice as long as exterior work because of tight spaces, awkward angles, and the need to reassemble everything afterward, so I always tell homeowners upfront about the timeline and full cure time—up to 16 hours between coats with quality paint like ADVANCE. What really matters to me is consistency between your cabinet interiors and exteriors, which means I’m choosing the same paint type and finish for both surfaces, not cutting corners with cheaper options that’ll look different once your doors are back on. Here’s what I wish you’d know before we start: removing doors, drawers, and hardware beforehand saves me hours of masking and cleanup, plus protecting your floors with drop cloths from day one prevents you from spending weeks scrubbing paint splatters out of your kitchen.
Workflow Efficiency and Timing
Painting cabinet interiors sounds straightforward until you’re actually standing in front of the job, and then the timeline math gets complicated fast. You’re looking at degreasing, sanding, priming, and full curing—each step demands patience, disrupting your kitchen’s daily use.
I’ve discovered that workflow efficiency hinges on these realities:
- Interior prep work extends your project by days, sometimes weeks, forcing you to live around wet cabinets
- Aligned finishes eliminate awkward touch-ups after installation, streamlining your overall experience
- Unpainted interiors mean masking elsewhere later, creating hidden labor costs you didn’t anticipate
- Protecting shelves properly during interior painting prevents residue and peeling issues that plague rushed jobs
The honest truth? Painting cabinet interiors demands upfront investment in time and disruption, yet delivers consistency that unpainted alternatives can’t match.
Interior-Exterior Paint Consistency
Aligning your interior and exterior finishes streamlines the whole workflow—fewer masking steps, fewer touch-ups, and a consistent appearance throughout your kitchen.
Here’s why this matters: when I paint inside your cabinets to match the exterior, I’m not wrestling with sharp edges or worrying about color bleeding onto different surfaces. The consistency eliminates guesswork during application and prevents the awkward moment when you open a cabinet door and the interior clashes with what you see from the kitchen.
| Approach | Masking Needed | Touch-Up Risk |
|---|---|---|
| Matching finishes | Minimal | Low |
| Different colors | Extensive | High |
| Open shelving | Critical | Very high |
This interior-exterior consistency isn’t just about appearance—it’s about respecting your time and budget while delivering results that work.
Spotting Irreversible Damage That Paint Can’t Fix
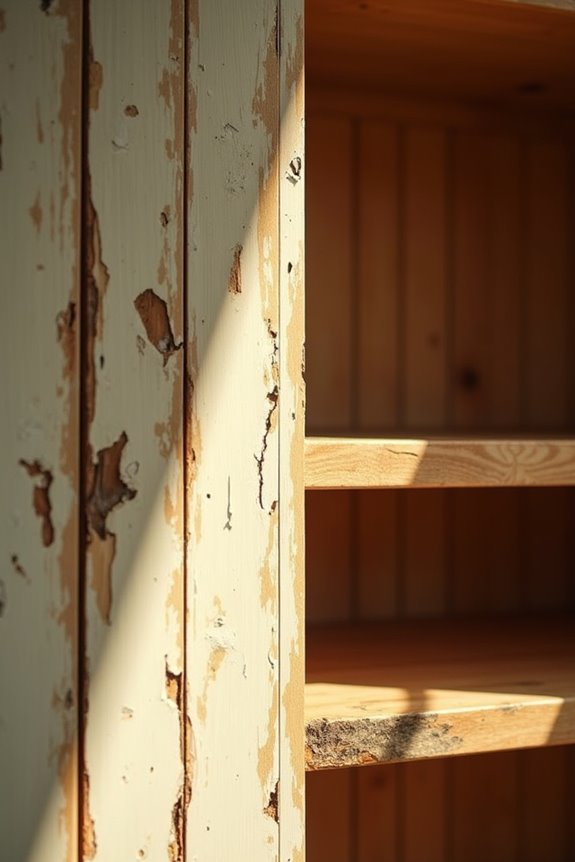
When’s the last time you opened your cabinet doors and really looked inside? I’ve learned that some damage won’t budge, no matter how much paint you slap on. Here’s what’ll stop you cold:
- Deep rot or structural warping that’s eaten through the wood itself
- Extensive moisture swelling and mold that mask ongoing problems
- Severe de-lamination where veneer peels beneath layers of finish
- Chips exposing bare wood that’ll crack further under paint
These issues demand replacement, not coating. Paint won’t restore true dimensions or safety—it’ll just hide what’s really happening inside your cabinets. Hardware holes and deep gouges create blotchy finishes that look unfinished. You’ll spot irreversible damage when wood feels soft, looks warped, or peels visibly. Pay attention to these signs.
Glass Doors and Open Shelving: When Interior Paint Becomes Visible
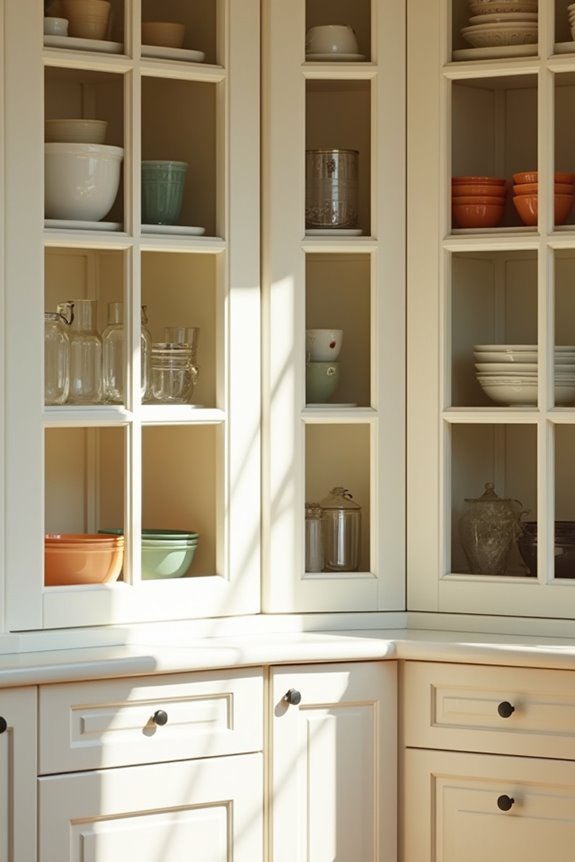
If you’ve got glass-front cabinets or open shelving in your kitchen, here’s the truth—that interior paint job isn’t hidden anymore, it’s part of your design. When you can see inside of cabinets, whatever color you choose becomes a visible design element, not just functional storage. This means painting the inside matters more than you’d think.
A lighter or neutral interior color brightens your space and hides wear better than darker shades. If your shelves show grease buildup or age spots, paint refreshes everything instantly. The key is aligning your interior color with your exterior cabinet finish—this creates that unified, deliberate look you’re after.
Think strategically. Your visible interiors should complement, not clash with, your kitchen’s overall aesthetic. That’s when paint turns storage into genuine design.