
I’d go with 3cm granite for your kitchen—it handles daily stress without reinforcement and resists cracking better than 2cm. Sure, 2cm saves money upfront, but you’ll spend extra on plywood backing and metal brackets to prevent flexing. If you’ve got long overhangs or heavy-use zones, 3cm becomes necessary. The durability difference justifies the modest cost increase, and you’ll get attractive edge profiles like bullnose or ogee that thinner slabs can’t pull off. Understanding how your specific layout affects thickness requirements matters.
Why Granite Thickness Matters for Kitchen Durability
Imagine this: you’re installing a new granite countertop, and you’re faced with a choice between 2 cm and 3 cm slabs. Here’s what I’ve learned: granite thickness directly impacts your counter’s durability. Three cm slabs offer superior strength and require minimal reinforcement underneath, while 2 cm countertops need plywood backing for support. The difference matters because thicker granite resists cracking better, especially in high-traffic kitchens where daily wear adds up. I’ve also discovered that 3 cm slabs let you choose attractive edge profiles—bullnose, ogee, bevel—that improve your kitchen’s appearance. These profiles appear more striking and durable on thicker stone. So when you’re deciding, remember: investing in 3 cm granite means investing in longevity, visual impact, and confidence that your counters will perform well.
Budget-Friendly Kitchen? Why 2cm Works (With Caveats)
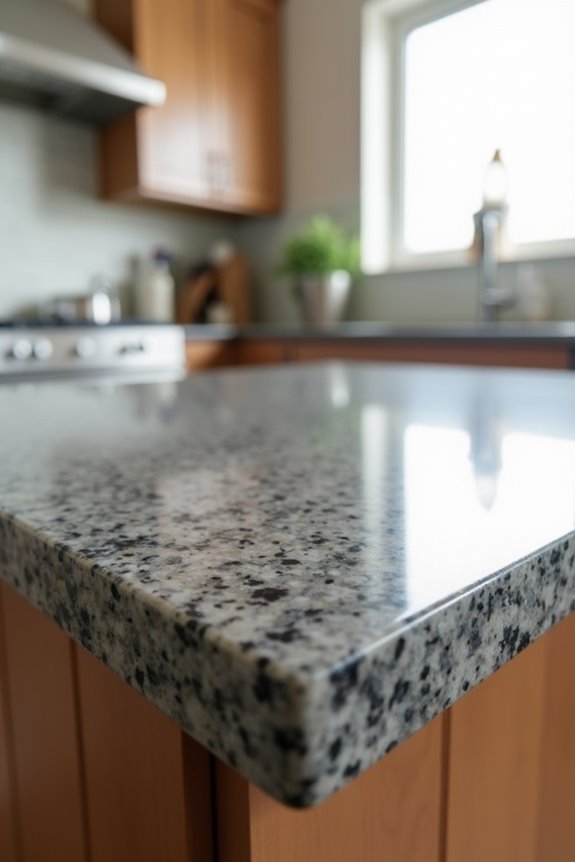
I’ll be straight with you—if you’re watching your budget, 2cm granite can save you serious money compared to the standard 3cm slabs, but here’s what that savings actually costs you: you’re trading durability for dollars, which means you’ll need plywood backing underneath, edge reinforcements to hide that thin look, and honest-to-goodness careful use to avoid cracks that’ll frustrate you daily. The real strategy isn’t just picking 2cm and hoping for the best; it’s knowing exactly where to put it (backsplashes and low-traffic zones work well, while that big island where you chop vegetables? that’s a no-go), investing in professional installation with a solid warranty that actually covers stress fractures, and understanding that proper support reinforcement throughout makes this a sensible compromise rather than a risky gamble.
Cost Savings And Trade-Offs
So here’s the real talk: if you’re stretching your budget thin and eyeing granite counters anyway, a 2 cm thickness might actually work for you—but you’ve got to go in with your eyes wide open. You’ll save money upfront, which matters when every dollar counts.
Here’s what you’re trading:
- Overhang support costs more – you’ll need plywood backing or reinforcement, eating into savings
- Edge profiles stay simple – mitered edges work, but forget dramatic Ogee designs
- Warranty concerns emerge – crack risk increases, so review terms carefully
The real question isn’t whether 2 cm is cheap; it’s whether proper installation costs balance your savings. When you invest in solid backing and quality edge work, you’re protecting your investment, not just pinching pennies on granite countertops thickness options.
Support Reinforcement Requirements
Why does 2 cm granite need reinforcement when 3 cm typically doesn’t? The answer’s simple: thinner granite countertops lack the structural integrity that thicker slabs naturally possess. When you choose 2 cm granite, you’re adding weight without comparable strength, which means sagging becomes a real concern—especially over longer spans or heavy island overhangs.
I’d recommend installing plywood backing or underlayment beneath your 2 cm granite countertops. This support reinforcement distributes weight more evenly, reducing crack risk significantly. Think of it like this: the backing acts as your countertop’s foundation, preventing the granite from flexing dangerously when you’re prepping meals or setting down heavy pots.
3 cm granite rarely needs this extra support because its increased thickness handles stress naturally. If you’re committed to 2 cm granite for budget reasons, skip the reinforcement only if you’re willing to accept the structural risks—otherwise, it’s worth the investment.
Risk Mitigation Strategies
you’re not locked into a risky decision if you’re strategic about it. I’ve learned that smart planning makes this budget option a solid choice.
Here’s what I recommend:
- Install robust plywood backing beneath your 2 cm granite to absorb impact and distribute weight evenly across your cabinets
- Reinforce any overhangs with additional structural support brackets, since these vulnerable spots crack most frequently under stress
- Hire professional installation only—this isn’t the place to save money, because improper setup guarantees problems
The key advantage? Get explicit warranty coverage addressing cracks beyond normal wear. This protects you completely. When you combine proper reinforcement, professional hands, and comprehensive warranties, 2 cm granite performs reliably in kitchens. You’re making a calculated choice, not a risky gamble.
Durability Without Extra Cost: Why 3cm Is Standard
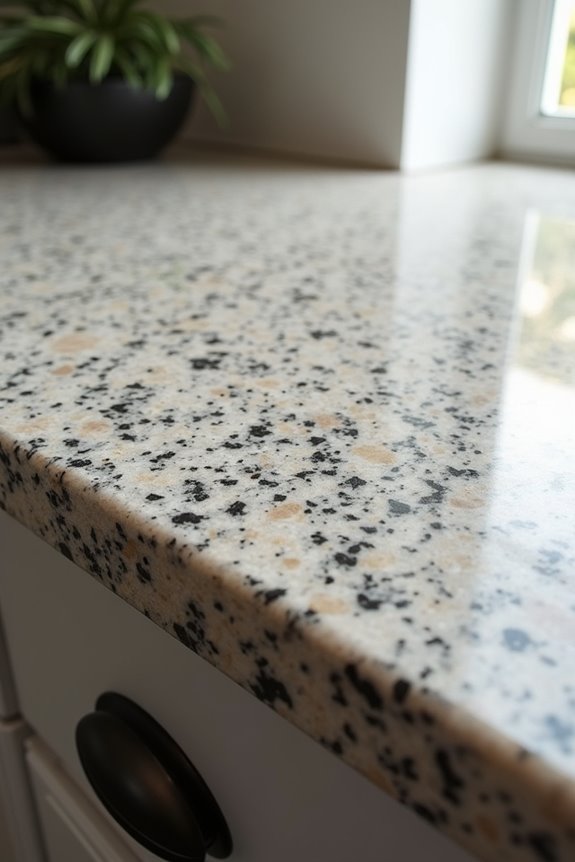
When you’re shopping for granite counters, here’s what I’ve learned: 3 centimeters—that’s about 1¼ inches thick—has become the industry standard for good reason. This thickness gives you real durability without paying extra for reinforcement, which beats thinner options. I found that 3 cm granite provides substantial strength against impacts and cracks, while also opening up design possibilities. You get access to edge profiles like bullnose, ogee, and bevel—finishes that add polish to your kitchen. What matters most? Most kitchens don’t need plywood backing with this standard thickness, which simplifies installation and cuts costs. Yes, it’s heavier and requires professional help, but you’re investing in counters that’ll outlast thin alternatives.
Beyond Standard: When Custom Thickness Makes Sense
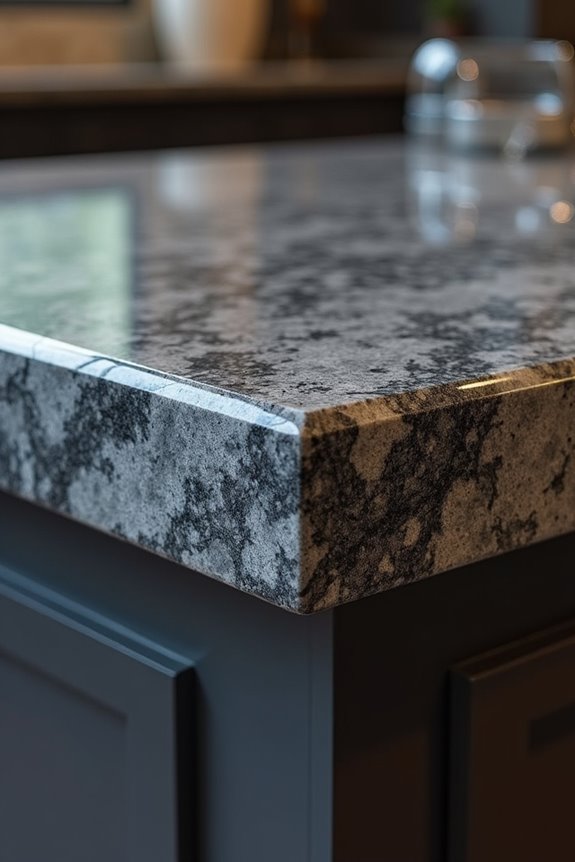
Standard 3 cm granite does the job well, but here’s what I’ve discovered while working with homeowners who want something more distinctive: thicker countertops—4 cm and beyond—create a visual impact that changes how a kitchen feels. When you’re ready to invest in custom thickness, consider these situations:
- Bold design statements — Thick slabs deliver that luxurious depth perception, making your space feel high-end and commanding.
- Edge profile possibilities — Thicker granite lets you explore elaborate detailing like ogee or mitered edges, adding personality that thinner options can’t match.
- Lamination solutions — If budget’s tight, laminating edges or using front-facing stone creates thickness appearance while managing costs and structural support needs.
Balance your design goals against installation practicality. Thicker doesn’t always mean better—it means deliberate.
Long Overhangs and Heavy Use: Why Kitchen Layout Changes Everything
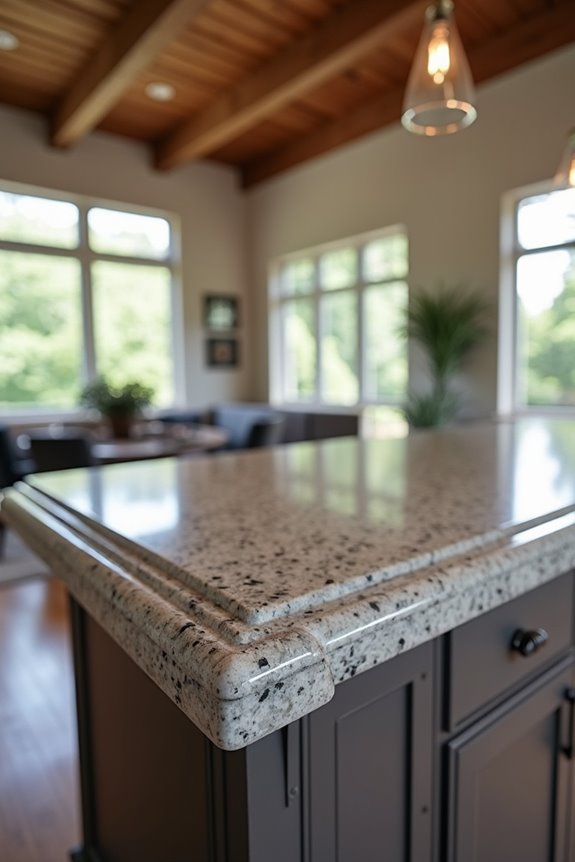
How does your kitchen actually work—does your island stretch out into the room, or do you have a breakfast bar that juts from the counter? This matters. Heavy-use kitchens demand thicker granite countertops because overhangs create stress points that thinner materials simply can’t handle safely.
| Overhang Length | Recommended Thickness | Why It Matters | Best For |
|---|---|---|---|
| Under 12 inches | 2 cm | Minimal stress | Small edges |
| 12-18 inches | 3 cm | Substantial strength | Most islands |
| 18+ inches | 3 cm laminated or 6 cm | Prevents sagging | Heavy use |
| Custom layouts | 3 cm minimum | Reduces reinforcement needs | Breakfast bars |
A 3 cm thickness gives you the structural support your kitchen actually needs without excessive bracing underneath.
Create the Illusion of Thickness With Smart Edge Profiles
I’ve discovered that you don’t always need a chunky 3 cm slab to get that substantial, high-end look—smart edge profiles can change how thick your counter appears, and I want to show you exactly how. Whether you’re working with a slimmer 2 cm slab or a standard 3 cm thickness, choosing the right edge design, like an ogee, bullnose, or mitered edge, creates visual depth that makes your granite look considerably more impressive without the extra weight or cost. Pairing these profile choices with strategic color selections—darker tones especially amplify that sense of heft—gives you real control over your counter’s perceived presence in the kitchen.
Edge Profiles Enhance Visual Depth
Ever wonder why some granite countertops look substantially thicker than they actually are? It’s all about edge profiles. The right edge profile creates visual depth that makes your counter appear more substantial than its actual thickness.
What works best:
- Mitered edges on thinner slabs add perceived depth without extra weight, giving you that designer look
- Beveled edges pair perfectly with 2 cm counters, adding a slanted highlight that enhances richness
- Ogee or bullnose profiles on 3 cm granite emphasize that bold, high-end appearance
The key is matching your edge profile to slab thickness. When proportion aligns correctly, you avoid that awkward visual mismatch. Smart edge choices affect how substantial your granite countertops feel, letting you achieve the aesthetic you want regardless of actual thickness.
Mitered Edges Boost Apparent Thickness
Want that premium, designer-thick countertop look without the premium price tag? Mitered edges are an effective technique. This involves angle-cutting the granite countertops at the edges, creating a visual illusion of substantial thickness without actually adding weight or cost.
Here’s what happens: those angled edge profiles make your countertop appear fuller, bolder, more luxurious. Even standard 3 cm slabs look impressively thick. You can achieve this with 2 cm granite countertops when we reinforce them properly underneath.
The technique relies on precise CNC cutting and skilled finishing work. Done right, you won’t see visible seams. Done wrong, the effect fails. This approach makes islands and reception areas stand out as focal points that appear more expensive than they actually are.
Design Choices Maximize Slab Impact
How much of your countertop’s visual impact comes down to what you see at the edges? I’ll tell you—it’s everything. You don’t need a thick slab to achieve that luxurious, substantial look you’re after.
Here’s what works for a thinner countertop:
- Mitered edges create clean lines that fool the eye into seeing more depth than actually exists
- Laminated edging adds stone strips to boost perceived thickness without upgrading the whole slab
- Strategically placed underlayment behind edges mimics that 4 cm+ presence on a modest 2 cm base
These edge profiles and laminated solutions amplify your countertop’s visual mass. I’ve seen 2 cm slabs gain serious presence through smart design choices. Your underlayment placement matters—position it where you’ll notice it most. That’s how you maximize slab impact while keeping costs reasonable.
Support Costs and Installation: What Each Thickness Requires
When you’re picking your granite thickness, you’re really making a decision about how much support work—and money—you’ll need to invest in getting it installed properly. Thinner slabs demand serious reinforcement, while thicker options stand on their own. Your choice affects everything from underlayment backing requirements to edge profiles you can actually achieve.
| Thickness | Support Needs | Installation Cost |
|---|---|---|
| 2 cm | Plywood backing, metal brackets | Higher labor |
| 3 cm | Minimal reinforcement | Standard cost |
| 6 cm | Lamination only | Premium pricing |
The reality? That beautiful 2 cm granite needs substantial overhang support. You’ll install underlayment backing beneath islands and invest in additional bracing. Three centimeters eliminates most headaches, while 6 cm laminated slabs cost more upfront but skip reinforcement entirely.
How Much Extra Will You Pay for Thicker Granite?
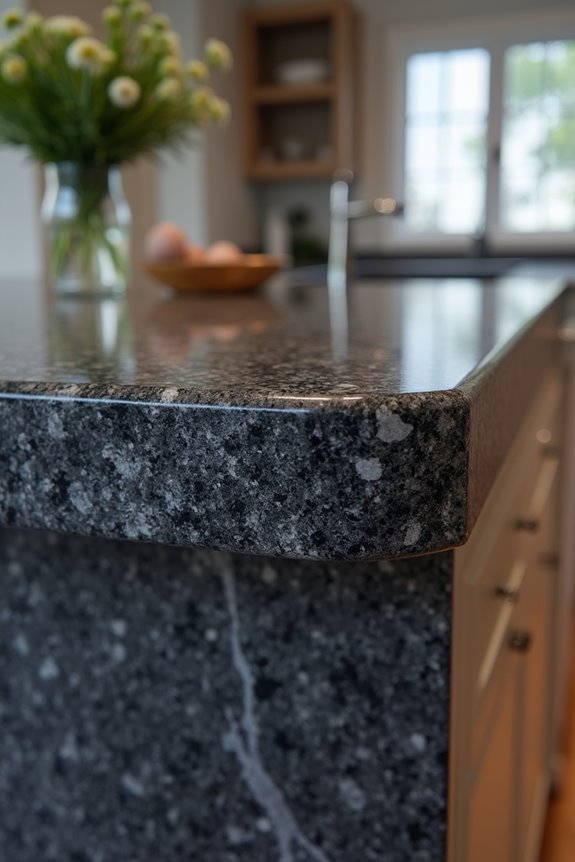
it’s not just about the stone itself, but about everything that comes with it. You’re paying for material, labor, and the structural demands your choice creates.
Consider these cost factors:
- Material costs scale directly—thicker slabs mean more granite, so a 6 cm countertop costs considerably more than 3 cm thickness
- Installation complexity increases—heavier weight and support requirements demand professional handling and reinforced cabinetry, raising labor expenses
- Edge profiles expand your options—thicker granite countertop thickness enables decorative edges, though fancy profiles add fabrication time and cost
Here’s my honest take: 3 cm thickness delivers the sweet spot. You’re getting durability, wider edge profiles, and reasonable pricing without unnecessary reinforcement expenses. Jumping to 6 cm? That’s a premium investment for visual impact, but your costs will rise accordingly.
Strength Under Stress: Crack Resistance by Thickness
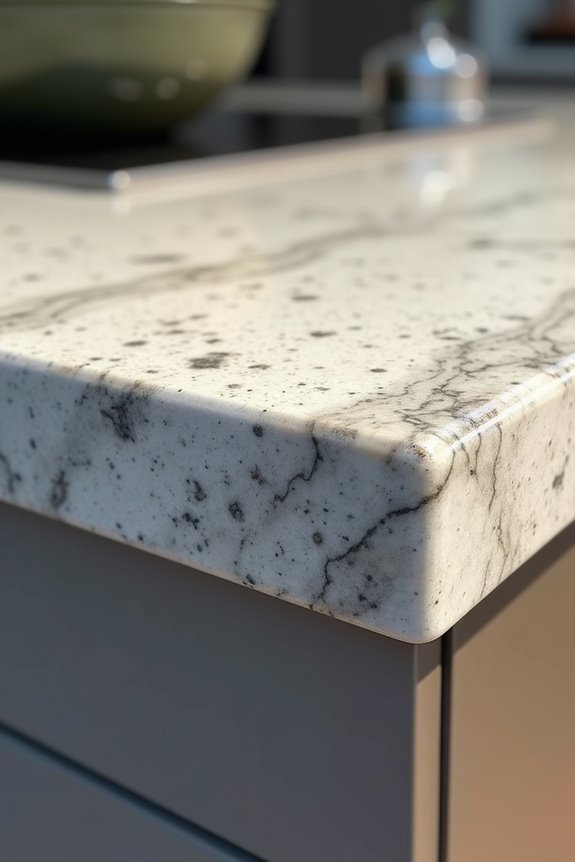
Now here’s where thickness really matters—not just for looks, but for keeping your counters from cracking under real-world stress. Granite thickness directly determines crack resistance, and the difference between 2 cm countertops and 3 cm slabs is significant in high-traffic kitchens.
Here’s what happens: thicker slabs distribute stress more effectively across your surface, dramatically decreasing hairline fractures from heavy impacts. With 2 cm countertops, you’re fighting an uphill battle—they’re prone to cracking during installation and daily use unless you invest in plywood backing and reinforced edge work.
Three cm slabs offer superior durability with minimal reinforcement needs. That structural support difference matters when you’re living with your counters daily. Choosing proper granite thickness protects your investment long-term.
Choose Your Thickness: A Decision Framework
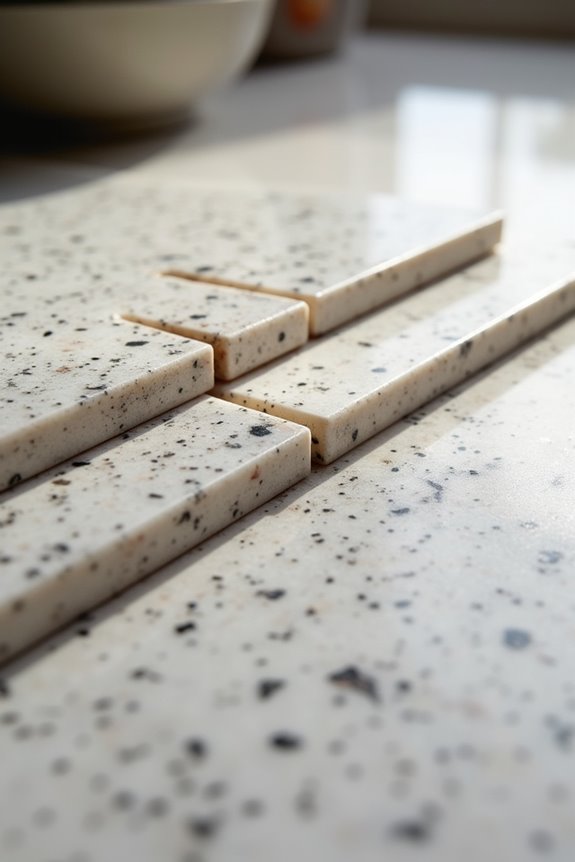
So which thickness should actually go in your kitchen? I’ll walk you through what matters most for your space.
- Budget and durability: 2 cm works if you’re watching costs, but you’ll need plywood backing and countertop reinforcement for overhangs. 3 cm stands alone, requiring no extra support—it’s the preferred option for most kitchens.
- Style goals: Want dramatic edge profiles like bullnose or ogee? You’re looking at 3 cm minimum. Thinner slabs limit your design options considerably.
- Traffic patterns: High-traffic kitchens demand 3 cm granite thickness. The improved strength means fewer worries about cracks under stress.
Your granite thickness decision really hinges on these factors. When you weigh durability, aesthetics, and long-term performance, 3 cm emerges as the reliable choice for most homeowners seeking lasting kitchen countertops.