

Measure your living room’s length and width, calculate total square footage, then match it to blade diameter: 62-inch for 225–325 sq ft, 72-inch for 325–400 sq ft, or 84-inch for over 400 sq ft.
Check your ceiling height—standard 8-foot ceilings need a 3–6 inch downrod to maintain proper clearance.
Verify your electrical box supports the fan’s weight, confirm your room layout allows centered placement, pick your style and finish, then verify mounting hardware compatibility.
Each step prevents costly mistakes down the line.
Step 1: Measure Your Living Room’s Square Footage

Where do you even start when picking the right ceiling fan? I’ll tell you: measure your living room’s square footage first. Grab your tape measure and find the length and width, then multiply them together. That number—your total square footage—determines everything about ceiling fan size and blade span.
Got an irregular shape? No problem. Divide the room into rectangle sections, measure each one, then add them together. Don’t forget about walls, built-ins, or anything else that’ll affect where you can actually place the fan.
Once you’ve got your room measurements locked down, you’re ready for the next steps. A 100 sq ft space needs different blade span than a sprawling 500 sq ft room. This foundation matters.
Step 2: What Ceiling Height Do You Have?
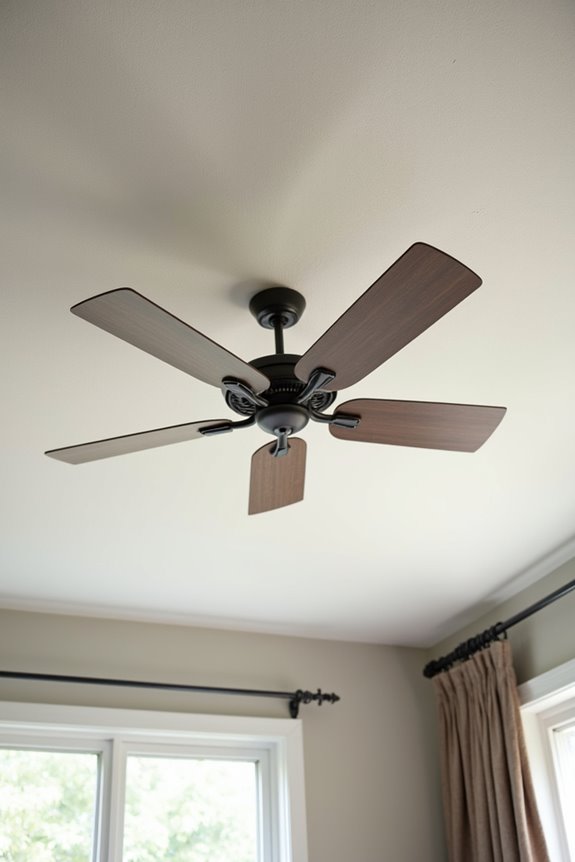
Step 2: What Ceiling Height Do You Have?
Before you pick out your fan, you need to measure your ceiling height because it affects where the fan sits and how well it’ll work for you. Standard 8-foot ceilings need a typical 3–6 inch downrod to keep the fan at least 7 feet up, but if you have sloped ceilings over 34 degrees, you’ll likely need a special adapter and a longer downrod to reach that ideal 8–9 foot range. Either way, you’re aiming for 8–12 inches of clearance between your blades and the ceiling so everything runs safely and smoothly.
Standard Ceiling Heights
How’s your ceiling height looking in there? If you’ve got standard 8-foot ceilings—which most of us do—you’re in good shape. I’ll be honest, this is where things get exciting because standard ceilings give you solid options for ceiling fan height and airflow efficiency.
Here’s what you’re working with: your blades need 8–9 feet above the floor for optimal airflow, which means 8–12 inches of blade clearance from your ceiling. A downrod length of 3–6 inches handles this perfectly, keeping everything balanced without cramping your space.
If your room has 9-foot ceilings, you’ve got even more flexibility—a standard mount works great, and you can adjust your downrod length as needed. Either way, you’re maintaining that necessary clearance while maximizing how your fan moves air throughout the room.
Sloped Ceiling Considerations
Got angled ceilings throwing a wrench in your plans? Don’t worry—you’re not alone, and we’ll figure this out together. Sloped ceilings require a canopy adapter kit to replace your standard canopy, especially when slopes exceed 34 degrees. This adapter keeps your fan flush against that angled surface.
Here’s where downrod length becomes important. You’ll want your fan’s blade bottom hanging 8–9 feet above the floor, which means adjusting for your ceiling’s angle. Most fans offer optional downrod sizes ranging from 2–6 inches, letting you fine-tune clearance precisely. Longer rods position the fan correctly on steeper slopes.
Balance matters too. Your downrod orientation must accommodate the slope, preventing blade contact with your ceiling or wall while maintaining even airflow. Get this right, and your fan runs properly.
Step 3: Match Your Room Size to Blade Diameter

Why does blade diameter matter so much? Getting this right determines whether your fan actually circulates air effectively or just sits there looking pretty. Your room size and blade span work together—they’re inseparable partners in creating the comfort you need.
Blade diameter determines fan effectiveness—room size and blade span are inseparable partners in creating the comfort you need.
Here’s how to match them properly:
- 225–325 sq ft rooms need a 62-inch blade diameter for balanced airflow and visual appeal
- 325–400 sq ft spaces benefit most from a 72-inch fan with even air distribution
- Over 400 sq ft areas require an 84-inch blade span for optimal circulation
Your sizing guide should account for ceiling height too. Higher ceilings might demand larger blade spans plus appropriate downrods to maintain clearance. This strategic pairing between room dimensions and blade diameter supports proper airflow while fitting your space aesthetically. You’re investing in comfort, so get this step right.
Step 4: Will the Fan Fit Your Room Layout?
Step 4: Will the Fan Fit Your Room Layout?
Before you install that ceiling fan, you’ve got to make sure it’ll actually work in your room’s layout—and I’m not just talking about whether it fits in the space.
I need you to think about where people actually sit and move around. Centering your fan in the primary seating area gives you the best airflow distribution without creating dead zones. Avoid placing it near walls, which causes obstruction and wastes your fan’s efficiency.
Here’s what matters for your room:
| Room Feature | What to Check | Why It Matters |
|---|---|---|
| Seating arrangement | Is furniture centered? | Provides balanced airflow coverage |
| Traffic patterns | Do people walk through? | Prevents obstruction and safety issues |
| Clearance space | 8–12 inches above blades? | Allows proper airflow circulation |
Irregular rooms need extra consideration. If your living room’s got alcoves or odd corners, you’ll want either multiple fans or a larger blade span to eliminate those frustrating dead spots where air just doesn’t move.
Step 5: Identify Your Application (Indoor, Damp, Outdoor)

Where you’re installing your fan matters more than you might think—it’s actually the difference between a fan that works great for years and one that rusts out or fails way too soon.
Here’s what I want you to think about:
- Indoor dry-rated fans work perfectly for your living room or bedroom where there’s no moisture exposure
- Damp-rated fans handle covered patios, bathrooms, and laundry rooms with higher humidity levels and some moisture resistance
- Wet-rated fans stand up to direct water exposure in fully exposed outdoor spaces
Your living room typically needs a dry-rated ceiling fan unless it connects to a covered outdoor area. But if you’re placing one in a bathroom or laundry room, grab a damp-rated model instead. The moisture resistance matters because humidity destroys regular fans quickly. Choose the right rating for your space, and your fan will last for decades.
Step 6: Choose Your Design Style and Finish

Now that you’ve nailed down the right size and rating, it’s time to pick a fan that looks good in your space—because a ceiling fan is both functional and a design element that either works with your room or clashes with it. You’ll find design styles ranging from Modern and Contemporary to Traditional, Rustic, Industrial, and Farmhouse. The blade finishes and housing finishes you choose—think white, black, brass, or brushed nickel—set your room’s tone. Consider reversible blades if you want seasonal flexibility; they let you swap looks without buying a new fan. Pay attention to coordinating hardware and finishing touches like glass shades. If your living room needs extra light, select a fan with an integrated dimmer and matching light kit finish for consistency.
Step 7: Confirm You Can Mount and Access It
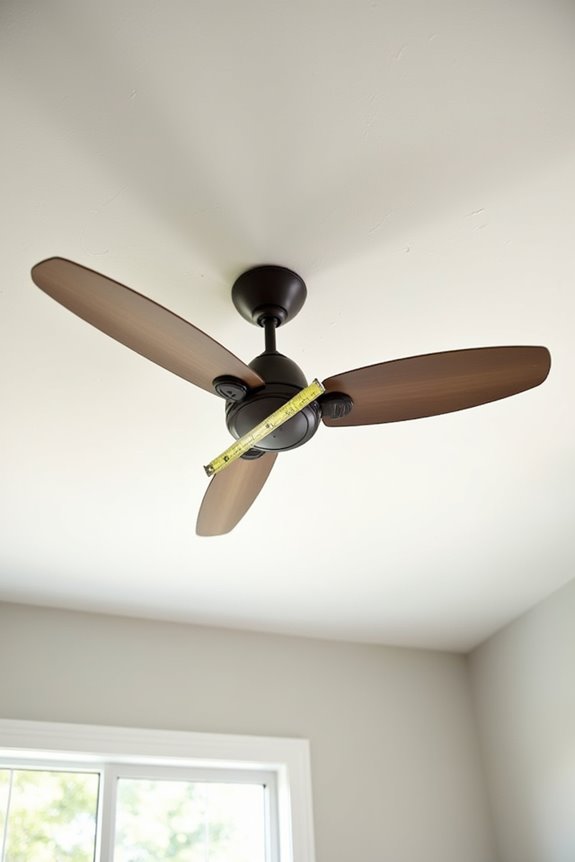
Have you thought about whether your ceiling can actually support a fan? Before you buy, I need you to verify three critical things:
Before you buy a ceiling fan, verify that your ceiling can actually support it.
- Ceiling height and downrod length – Measure up to ensure your fan sits 8–9 feet above the floor, giving you comfortable clearance for cleaning blades and maintenance access.
- Unobstructed space around the unit – Check that you’ve got 18–24 inches from walls and 39 inches from other fixtures, so nothing interferes with airflow or your ability to work safely.
- Mounting hardware and electrical box rating – Confirm your ceiling type (standard, flush mount, or sloped) matches your hardware, and that your electrical box can handle the fan’s weight without issues.
This step prevents installation headaches later.