
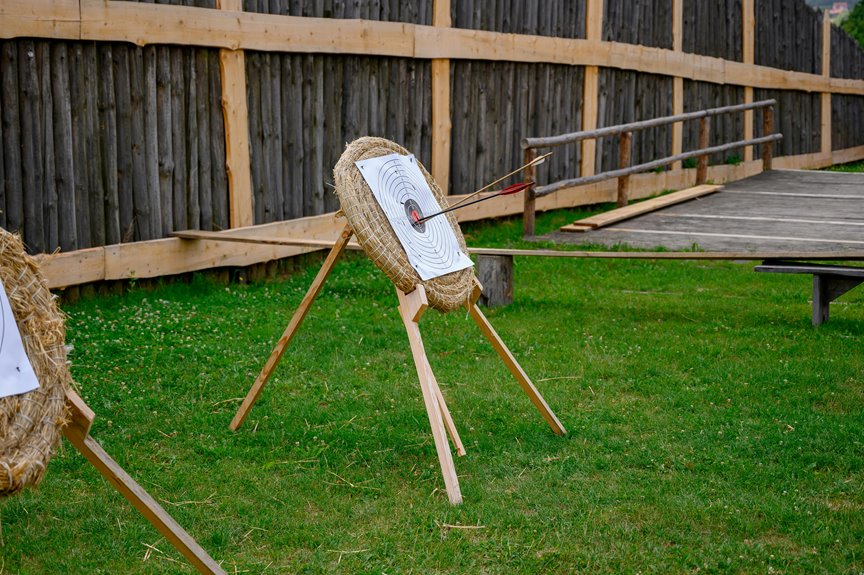
Before you set up targets, check your state, county, and city laws—because backyard archery isn’t automatically legal just because it’s your property. Verify written permission from your property owner if you’re renting, then confirm your HOA doesn’t prohibit it. Install a sturdy backstop at least 15 feet from property lines, keep arrows entirely on your land, and map your safe shooting zone with clear sight lines. Contact local officials to confirm specifics, and you’ll find exactly what setup works for your situation.
Check Local Rules for Backyard Archery
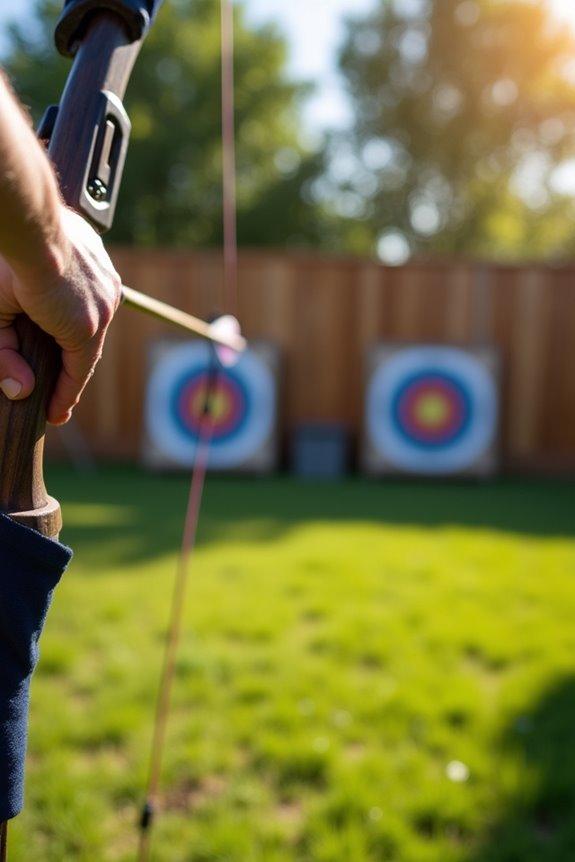
Before you set up targets in your backyard, you’ve got to know what the laws actually say—and here’s the thing: they’re different depending on where you live. I learned this the hard way when I nearly set up my range without checking local codes. You’ll need to investigate three levels: your state, county, and city regulations. California has no statewide ban on backyard bow shooting, but don’t let that fool you. Sacramento County prohibits bow use in parks and requires written permission from property owners. Sacramento City restricts archery to designated park areas exclusively. Understanding backyard archery legality means calling your local city hall or checking their websites directly. Get specifics in writing before you invest in targets and gear.
What’s Legal for Backyard Bow Shooting
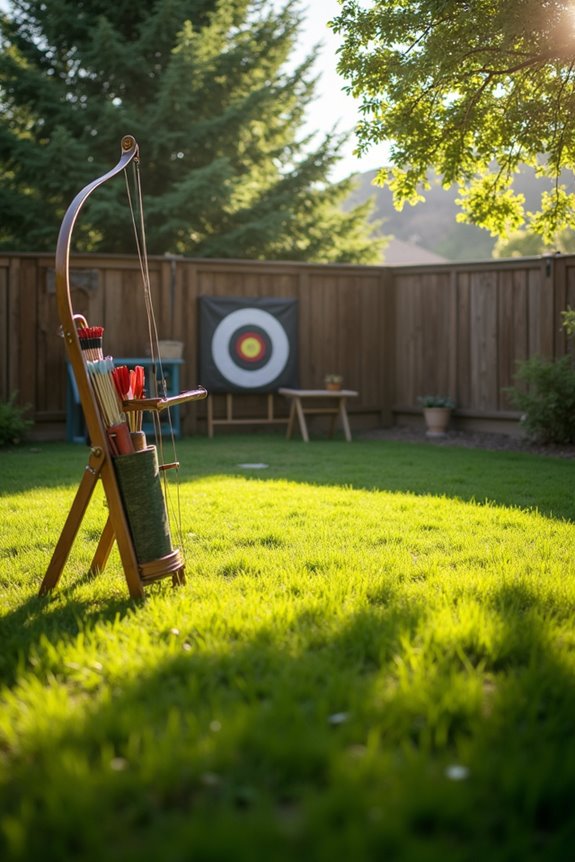
So what actually counts as legal backyard bow shooting? Here’s the reality: you can shoot in your yard if you follow three critical rules. First, arrows must stay entirely on your property—they can’t drift onto neighbors’ land or structures. Second, you need a proper backstop, like a target with a solid barrier behind it, to catch every arrow safely. Third, no shooting toward people, adjacent properties, or buildings, even accidentally.
State laws vary widely. California doesn’t prohibit backyard bow shooting statewide, but Sacramento County restricts it in parks. Oregon emphasizes unlawful discharge toward persons or property. Your backyard bow shooting legality hinges on local codes, not just state rules. Before you set up your target, contact your county or city officials. They’ll confirm exactly what’s permitted where you live. Don’t assume—verify first.
Confirm Your Property Allows Backyard Archery
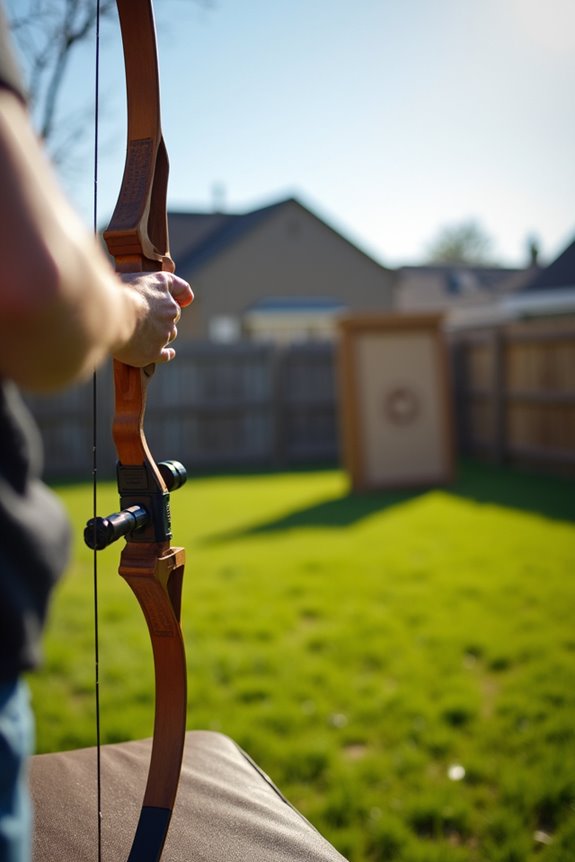
Before you set up your first target, you’ll need to verify that your specific property actually permits backyard archery by checking state codes, county ordinances, city regulations, your property deed for HOA restrictions, and getting written permission from the property owner if you’re renting. I’ve found that skipping this step causes real problems—many folks discover mid-setup that their city prohibits bow shooting within residential zones or that their HOA explicitly bans it, forcing them to dismantle everything they’ve built. Start by contacting your local county assessor’s office and city planning department to confirm what’s allowed on your exact property, because what’s legal three blocks over might be completely prohibited where you’re standing.
State, County, City Codes
While you might assume that owning property gives you the right to practice archery anywhere on it, the truth is more complicated—state, county, and city codes can seriously restrict where you’re allowed to shoot, and ignoring these regulations can land you with fines or worse. Understanding backyard archery legality requires checking multiple layers of jurisdiction. California, for instance, doesn’t prohibit backyard bow shooting statewide, yet Sacramento’s County Code Section 9.36.060 bans it within park limits. Meanwhile, Oregon Statute 166.220 makes discharging arrows toward people or property unlawful without authority. I recommend contacting your local planning department first, then checking county regulations, and finally reviewing state statutes. This three-step approach keeps you in compliance with the law and protects your community while you enjoy your sport safely.
Property Owner Permission Requirements
Do you actually own your property outright, or could there be restrictions you’re not aware of? Before you set up your archery range, confirm that property owner permission isn’t standing in your way. Even if you own your land, many jurisdictions require explicit property owner permission to discharge arrows. Some HOAs, rental agreements, or deed restrictions specifically prohibit backyard archery. Checking these details upfront prevents problems later. Contact your local property records office and review your deed carefully. If you’re renting, get written permission from your landlord. This straightforward step keeps you operating legally and protects you from liability issues.
HOA and Local Restrictions
Now that you’ve confirmed your ownership status and reviewed your deed, understand that your HOA likely has rules about what you can and can’t do in your backyard, and archery often sits in that gray area they’d rather you didn’t explore. Before you set up targets, pull out your HOA covenants and check their restrictions carefully. Many communities prohibit backyard archery entirely, while others allow it with specific requirements like minimum setbacks from property lines, sturdy backstops, or designated shooting zones. You’ll need written authorization from your HOA board. Get it in writing, keep those records safe, and ask about any noise or visibility limitations. This step prevents costly violations and protects your archery plans.
Install a Reliable Backstop or Target System
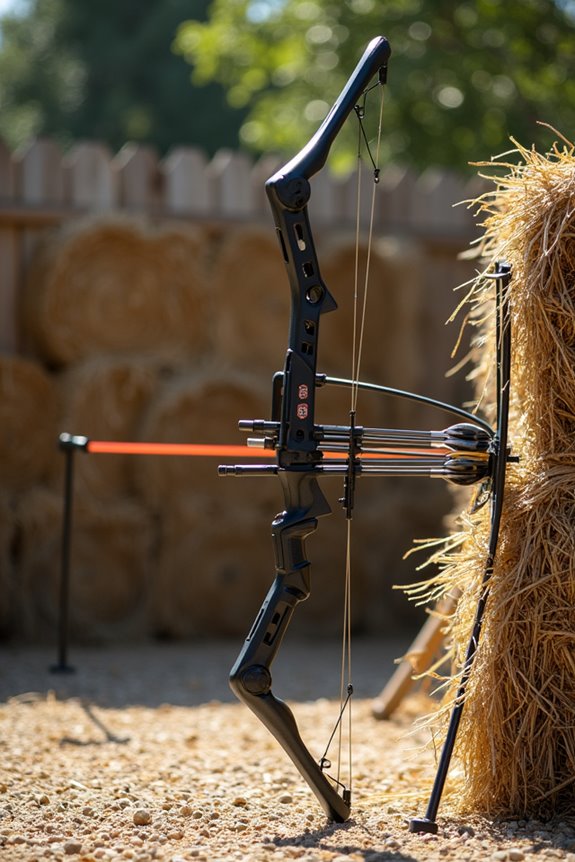
How serious are you about keeping your arrows where they belong? I’ll tell you—a backstop isn’t optional. It’s your foundation for safe, legal shooting.
I invested in a quality backstop system, and it improved my setup significantly. You’ll want something designed specifically for your arrow type and draw weight. A solid backstop stops arrows reliably, preventing dangerous ricochets or pass-throughs that could reach neighboring properties.
Position yours behind your target, extending well beyond it in all directions. I made sure mine covers a wide area—no gaps, no weak spots. Here’s what matters: regularly inspect for wear and damage. If arrows penetrate through, replace it immediately.
Your backstop is your primary compliance tool with local codes. When you nail this part, you’re protecting your neighbors while enjoying the sport responsibly. That’s how you belong in your own backyard range.
Map Your Safe Shooting Zone
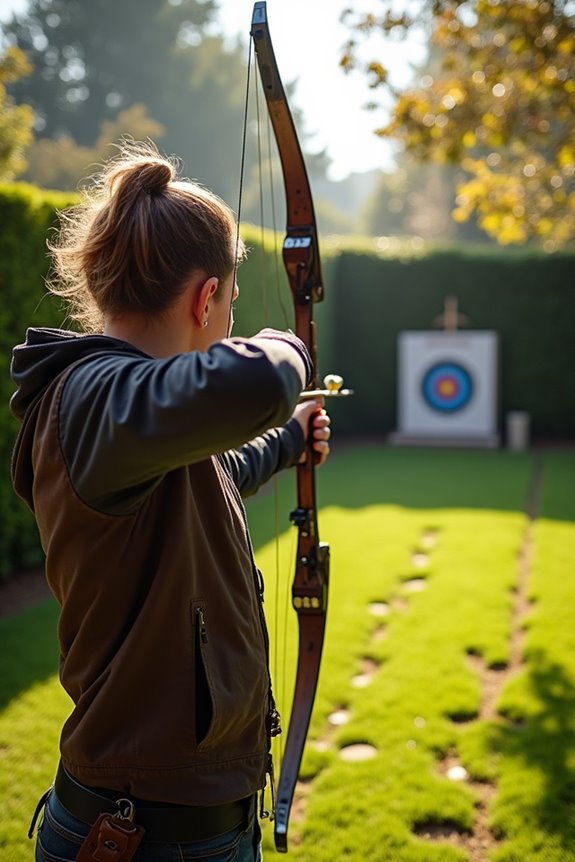
I need to map out exactly where I can safely shoot before I ever nock an arrow, which means understanding both my backstop requirements and my property boundaries—because a stray arrow landing on a neighbor’s roof or street is a legal and safety nightmare I won’t create. I’ll measure my yard carefully, marking the furthest point my bow can realistically send an arrow, then work backward to position my target with at least 10-15 feet of clearance beyond it, keeping everything firmly on my property. This means checking my lot lines, understanding local setback rules, and honestly assessing whether my space is large enough for safe backyard archery before I commit to equipment.
Safety Backstop Requirements
Where exactly should you set up your shooting zone, and what’s stopping those arrows from flying into your neighbor’s yard? You’ll need a sturdy backstop—think tall, dense netting or reinforced wall positioned directly behind your target. This barrier is your first line of defense against stray shots.
Position your backstop at least 10-15 feet beyond your target, accounting for arrow penetration and overshoots. Measure your property lines carefully, then add extra netting as backup protection. You’re creating a contained impact zone where arrows stop safely, period.
Install your backstop perpendicular to your shooting line, eliminating any angles where arrows might escape sideways. Check sightlines regularly—branches grow, properties shift. Your backstop isn’t just equipment; it’s your responsibility to the community around you.
Property Boundary Considerations
Before you plant your first target, you’ve got to know exactly where your property ends and your neighbor’s begins—because that’s where your legal responsibility starts and stops. I learned this the hard way: one stray arrow crossing that invisible line means liability falls on you, not them.
Walk your perimeter with a measuring tape. Mark the corners. This creates your shooting zone boundary—the area where arrows must stay, period. I use spray paint on the ground as a visual reminder.
| Measurement | Your Action | Why It Matters |
|---|---|---|
| Property line | Mark clearly | Legal protection |
| 50+ feet buffer | Create distance | Backyard safety |
| Target placement | Away from fence | Zero trespass risk |
Adjust your setup accordingly. No exceptions.
Clear Your Shot Line of Obstacles
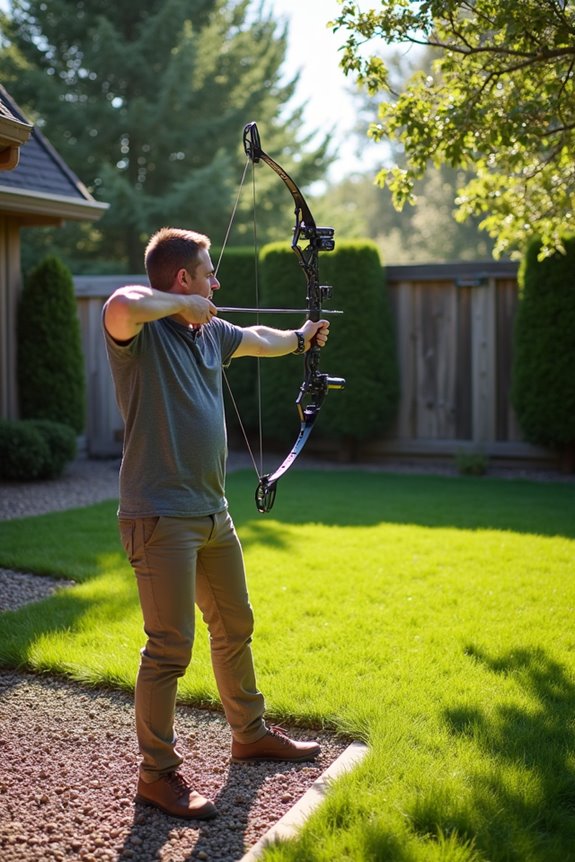
How’s your sight line looking from your shooting position to your target?
Clearing obstacles is important for safe shooting. Walk your shooting lane carefully, checking for branches, bushes, or structures blocking your path to the target. I remove anything that could deflect or stop an arrow mid-flight. Next, I position a sturdy backstop—typically a commercial target with a solid frame or earth berm—directly behind my target zone. This backstop catches arrows safely, preventing ricochets toward neighbors or property.
I inspect my entire range weekly, since trees grow and debris accumulates. Every branch matters. A single twig can alter arrow trajectory dangerously. I’ve learned this through experience. By maintaining clear sight lines and reliable backstops, I’m protecting my community while enjoying my sport responsibly.
Keep Arrows on Your Land
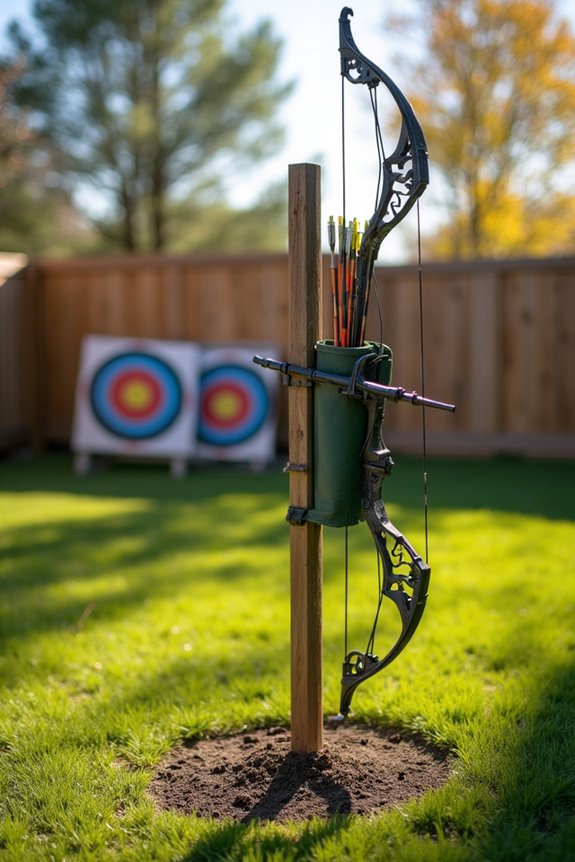
Why do so many backyard archers end up with arrows landing on their neighbor’s property? It’s usually because they didn’t plan their setup carefully enough. I’ve learned the hard way that a solid backstop is non-negotiable—it’s your best defense against legal trouble and strained relationships. You need something substantial, like a thick wooden frame filled with sand or a commercial target backstop that stops arrows cold. Position it so arrows can’t possibly sail beyond your property line, even on wild shots. Check your local codes first, because Oregon Statute 166.220 specifically prohibits firing arrows toward neighboring properties or people. I place my backstop at least 15 feet from any boundary line. This extra buffer keeps me safe legally and lets me shoot without constantly worrying about trespassing.
Choose Your Shooting Distance: 20 Yards or Less for Most Beginners
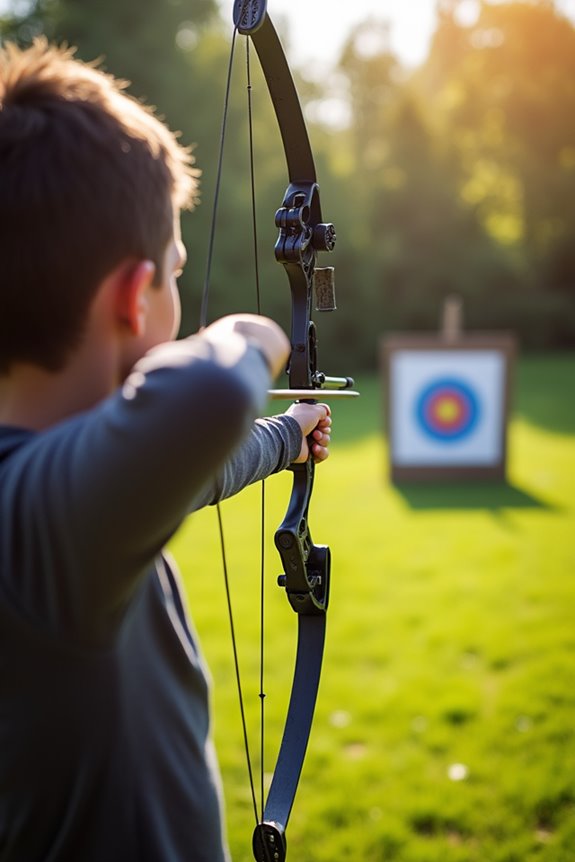
I’d recommend you start at 20 yards or less because it’s where most beginners actually see results without constantly chasing arrows into the weeds or worrying they’ll sail into your neighbor’s yard. At this distance, you’ve got room to build solid form and hit your target consistently before you even think about stretching out to 30 or 40 yards, which honestly just compounds bad habits. The real safety benefit here is straightforward: shorter range means your arrows stay on your property and behind a solid backstop, keeping you legal and keeping everyone around you safe.
Beginner Distance Recommendations
When you’re just starting out, where you stand matters as much as how you stand—and that is the reason most beginners should stick with 20 yards or less. I’ve found that this distance gives you the best foundation for learning proper stance, release, and aiming without overwhelming yourself. At 20 yards, you’ll build consistent form while maintaining backyard safety for yourself and your neighbors. Most practice facilities offer these shorter lanes because they work. You’re close enough to see exactly where your arrows land, which means you’ll understand what you’re doing right or wrong faster. Start here, nail your fundamentals, then gradually increase distance as your confidence grows and your technique solidifies.
Safety Considerations At Range
Because you’re shooting at closer distances, your setup matters even more—there’s no extra yardage to absorb mistakes or give arrows room to lose velocity. I need a solid backstop that catches everything, extending well beyond my target zone. At 20 yards, arrows travel fast enough to pass through if I’m not careful, so I’m investing in quality netting or a commercial backstop rated for archery.
I’m also checking what’s behind my setup. Roads, houses, and neighbors’ properties need clearance—arrows ricochet unpredictably. I maintain proper stance and controlled releases because sloppy form causes misses, and those missed shots become safety hazards. Before I shoot, I confirm my local facility allows backyard practice and follow their distance limits. Safety gear stays on. This isn’t negotiable; it’s how I protect myself and my community.
Talk to Family and Neighbors About Safety
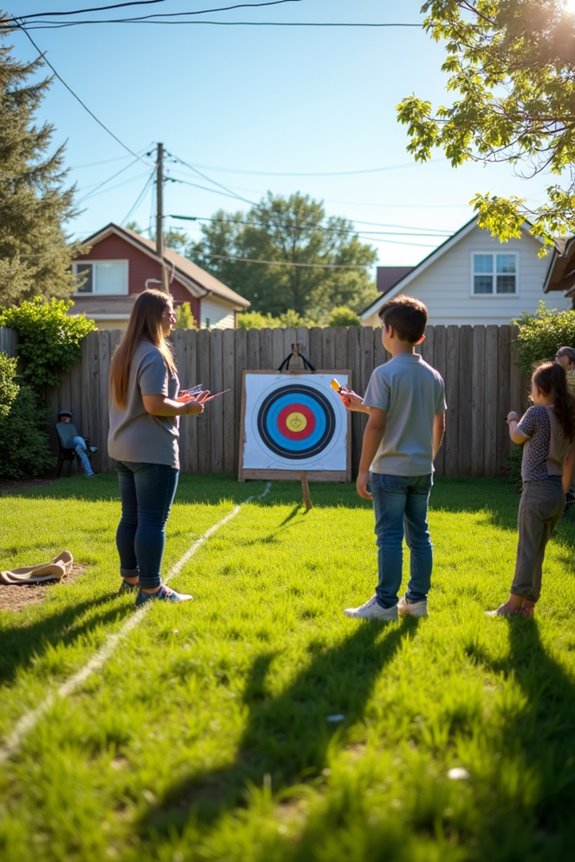
How’d you feel if an arrow suddenly landed in your neighbor’s yard without warning? That’s why I talk openly with my family and neighbors about safety before I start. I explain exactly where my targets sit, how far arrows travel, and what backstops I’m using to catch strays. I invite them to visit my practice area so they see my setup firsthand. I share my safety rules: supervised shooting only, clear yard boundaries, and keeping arrows contained on my property. We agree on a communication plan too—how to handle problems quickly if something goes wrong. This honesty builds trust. When neighbors understand my safety measures and feel included, they’re more supportive of my backyard archery practice.
When to Move to a Public Range or Club
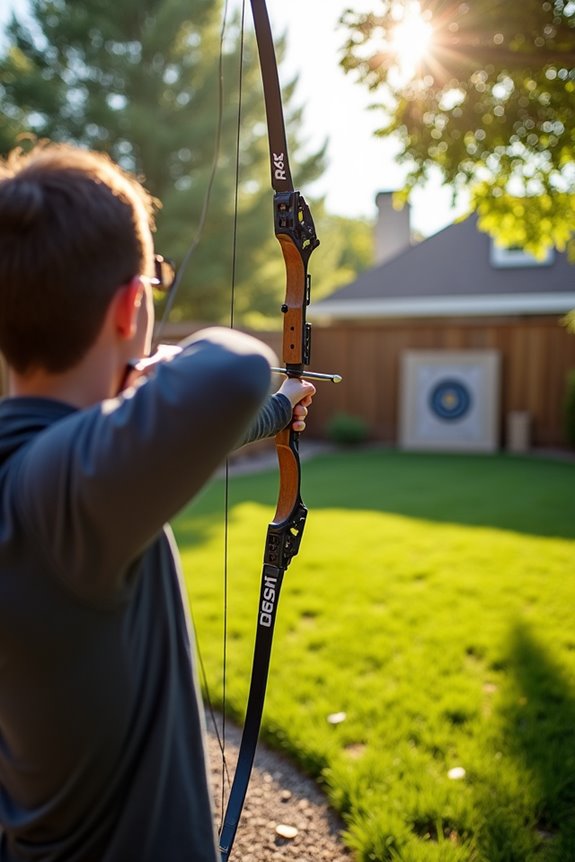
Eventually, you’ll hit a point where your backyard just isn’t cutting it anymore. Maybe your backstop can’t reliably contain arrows, or neighbors are getting closer. That’s when you need to listen to what backyard safety is telling you—it’s time to move on.
Consider switching to a public range or club if you notice:
- Nearby residences within your shooting zone
- Strict local restrictions on residential archery
- Uncertain backstop effectiveness or wear
- Arrows potentially crossing property lines
Moving to a dedicated facility isn’t admitting defeat. It’s respecting your community while protecting yourself legally. Public ranges have proper containment, liability insurance, and experienced supervision. You’ll also connect with other archers who share your passion. Your enthusiasm for bow shooting doesn’t have to end at home—it just evolves.
Select Equipment That Fits Your Experience Level
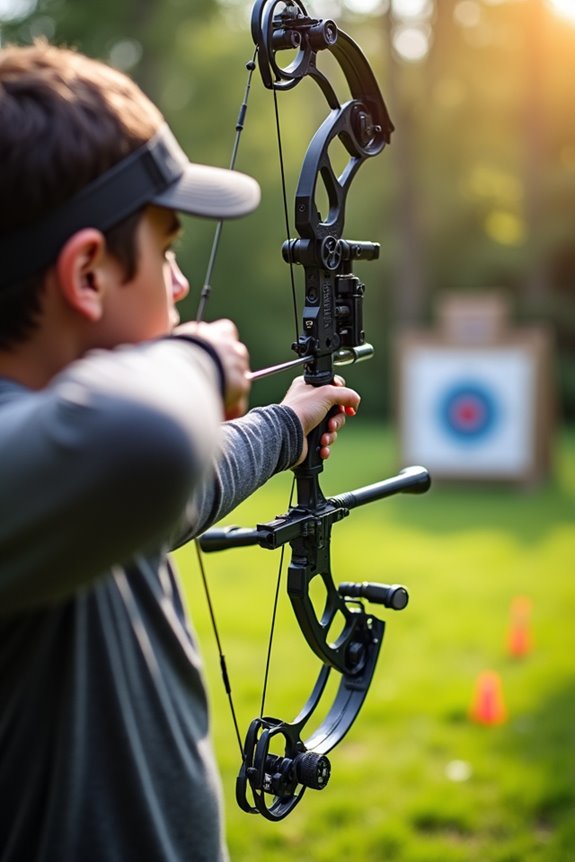
I can’t stress enough how much your bow choice matters when you’re starting out, because picking something too powerful will sabotage your form and frustrate you faster than you’d think. If you’re a beginner, I’d recommend starting with a recurve or a lighter compound bow—something in the 20 to 30-pound draw weight range—paired with shorter arrows (around 26 to 28 inches) that give you better control and help you build solid fundamentals before you progress. Once you’ve got your bow type locked in, matching that draw weight to your actual strength and experience means the difference between developing good habits now and fighting bad ones later.
Beginner-Friendly Bow Types
When you’re starting out with backyard archery, which bow should you actually pick? I’ll tell you straight: recurve and compound bows are your best bets, and both work well for beginners in Texas.
Here’s what I recommend considering:
- Recurve bows offer simplicity and direct feedback on your form
- Compound bows provide easier draw weight management as you build strength
- Both types have strong support from US Archery clubs across Texas
- Either choice suits backyard archery safety when paired with proper backstops
The real difference? Recurve bows teach fundamentals faster because you feel every mistake. Compound bows forgive slight errors, which helps confidence early on. Visit a local pro shop—they’ll match you with equipment fitting your goals, whether that’s target shooting or hunting. Your backstop matters more than which bow you choose anyway.
Matching Draw Weight Properly
How do you know what draw weight actually works for you? I’ll be honest—picking the wrong one frustrates your progress fast. Start light, around 15–25 pounds if you’re new to archery safety and strength building. This lets you focus on form without your shoulders screaming.
As you practice, gradually bump up in 5–10 pound increments. I’m serious about this progression; skipping steps tanks your accuracy.
Here’s what I do: I draw to full extension at my target height, checking my stance carefully. My arms stay relaxed, my back does the work. If I’m struggling, I know the weight’s wrong.
Visit a pro shop or qualified instructor. They’ll assess your body size, age, and discipline, matching you properly. Their expertise prevents months of frustration.
Create a Safety Plan (If Needed for Local Approval)
Before you set up your first target, you’ve got to figure out what’s actually legal where you live—and trust me, that’s not as straightforward as you’d think. I learned this the hard way. Creating a safety plan shows authorities you’re serious about responsible archery, and it demonstrates you’ve thought through the risks. Here’s what I include in mine:
- Document your property boundaries and target placement within your yard
- Map clear lines of sight with no adjacent homes or roads in range
- Establish backstop specifications (natural berms, commercial targets, or barriers)
- Record safety measures and HOA compliance documentation
Contact your local code enforcement office. They’ll tell you exactly what documentation they need. A solid safety plan isn’t just smart—it’s your ticket to keeping this hobby alive long-term without headaches.
Clean Up Your Arrows and Targets
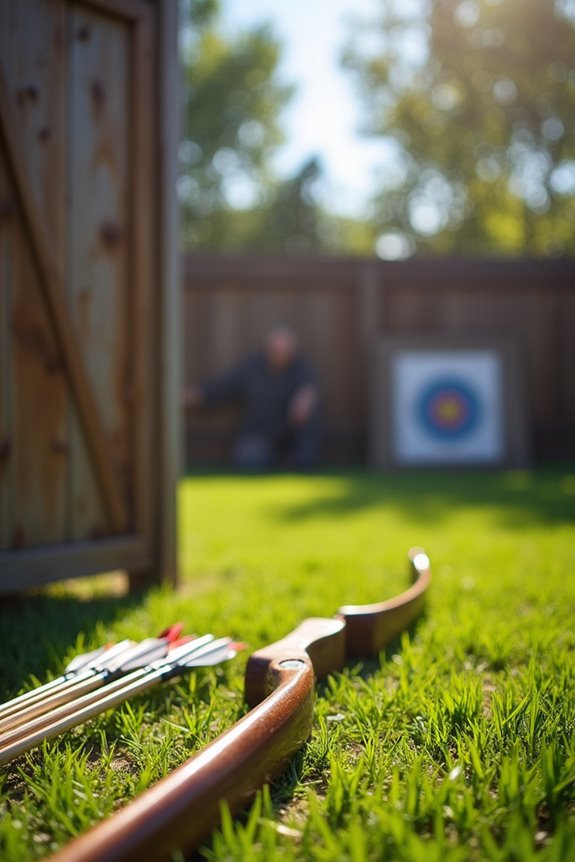
Why does arrow maintenance matter so much? Well, I’ve learned that keeping your arrows and targets in good shape protects your investment and prevents legal headaches. After each session, I inspect my arrows for damage—bent shafts, loose fletching, or cracked points—and set aside damaged ones for repair or replacement. I store them in a dry location away from direct sunlight, which prevents warping. My targets get regular attention too. I rotate the face every few weeks to distribute wear evenly, extending its lifespan considerably. Removing debris and loose foam keeps everything safe for the next session. Proper cleanup also demonstrates responsibility to neighbors and local authorities, showing you’re a conscientious archer who takes safety seriously. It’s honestly the easiest way to maintain compliance and respect within your community.
Understand Bowhunting Endorsement Requirements
Once you’ve obtained your arrows in good working condition and your targets properly maintained, there’s another layer of responsibility you’ll need to handle before you can legally hunt with your bow—and that’s getting the right endorsement on your hunting license.
Here’s what you need to know:
- The Archery Endorsement costs $7 and covers archery-only seasons
- You’ll need this endorsement if you’re hunting deer, turkey, or javelina in Collin, Dallas, Grayson, and Rockwall counties
- Crossbows are legal during both archery-only and general seasons, though some counties have restrictions
- Texas doesn’t enforce minimum arrow length, weight, or draw requirements
Getting your Archery Endorsement is straightforward, and it’s necessary for staying legal. Check your county’s specific rules before heading out—regulations vary, and you’ll want complete clarity before you hunt.
Join a Local Archery Club When Backyard Practice Becomes Limiting
How much space do you really have for improving your shot?
Your backyard has limits. A local archery club offers the space, coaching, and community to truly advance your shot.
When your backyard becomes cramped or your neighbors start wondering about safety, it’s time to join a local club. Texas has 36 USA Archery clubs offering access to proper ranges, certified coaches holding Level 2+ credentials, and structured instruction that backyard safety alone can’t provide.
Clubs offer what you can’t create at home: multiple distance options, professional feedback, and communities of archers working to improve their skills. Many use the ArcheryUP System with personalized lesson plans designed specifically for progression. Plus, you’re not isolated anymore—you’re part of a group with shared goals.
The transition is straightforward. You’ll explore target, field, and bowhunting disciplines, along with competitive pathways through NASP and J0AD. Your backyard practice builds the foundation; the club becomes where you develop your abilities further.