
I’ll walk you through building your backyard putting green in seven straightforward steps. You’re picking a 15–30 foot layout, checking that your yard slopes no more than 3%, then excavating 3–5 inches and compacting a crushed rock and road mulch base to 90–95% density. Next, you’ll install perimeter edging, mark cup locations, unroll synthetic turf with careful stapling every 3–6 inches, and spread infill before testing speed and breaks. Finally, commit to weekly brushing and infill maintenance—about 15 minutes—to keep it playable. Stick around to discover exactly how each step builds your yard into a functional golf experience.
Choose Your Green Size and Layout
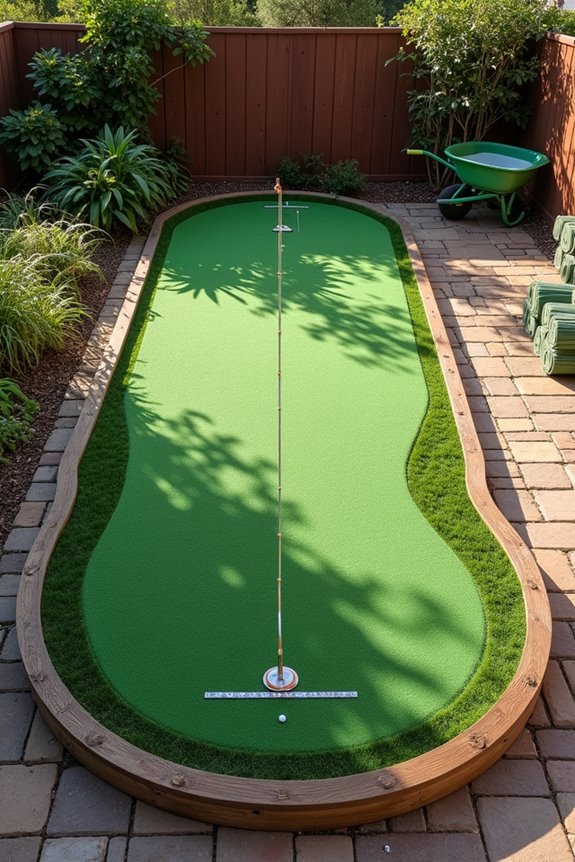
How much space do you actually have to work with? That’s where your backyard putting green journey starts. I’ve found that sizing matters—you’re looking at layouts ranging from 15 by 14 feet in an L-shape to wider designs hitting 20 to 25–30 feet for solid chipping and breaks. Before committing, I check my yard’s slope, making sure it doesn’t exceed 3% so drainage works properly and your game stays consistent.
Here’s where modular base panels shine. They let me test different configurations without permanent installation, adjusting until the layout feels right. I consider fringe material around the perimeter too—it maximizes surface area and frames everything nicely. Starting simple, I keep expansion possibilities open. Maybe I’ll add a bunker later. This flexibility keeps me interested in growing my green strategically.
Survey Your Site for Drainage, Shade, and Space

Once you’ve settled on your green’s size and layout, you’re ready to scout the actual spot where it’ll live. I’d start by checking the slope—you’ll want no more than 3% grade so water naturally drains away and your surface stays flat. Look for a spot that gets decent shade during peak heat, since that keeps the turf healthier. Measure out your space carefully; I’m planning a 15 x 14 foot L-shaped green, which gives me room to work and expand later with bunkers if I want. Mark everything with spray paint so you’ve got clear boundaries. Check that you can actually access the area with tools and materials—installation’s a two-person job, so you’ll need easy movement. Finally, inspect the ground for drainage patterns and level sections.
Build Your Base and Shape for Water Runoff
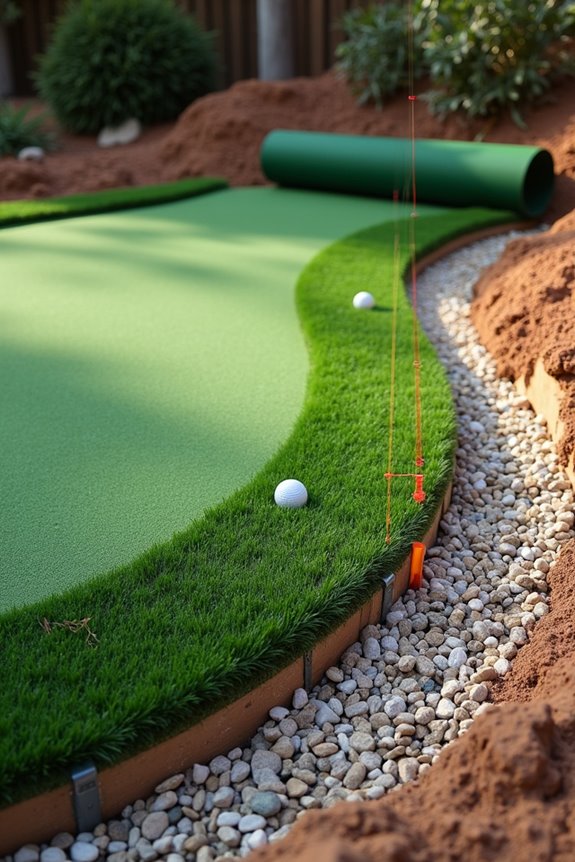
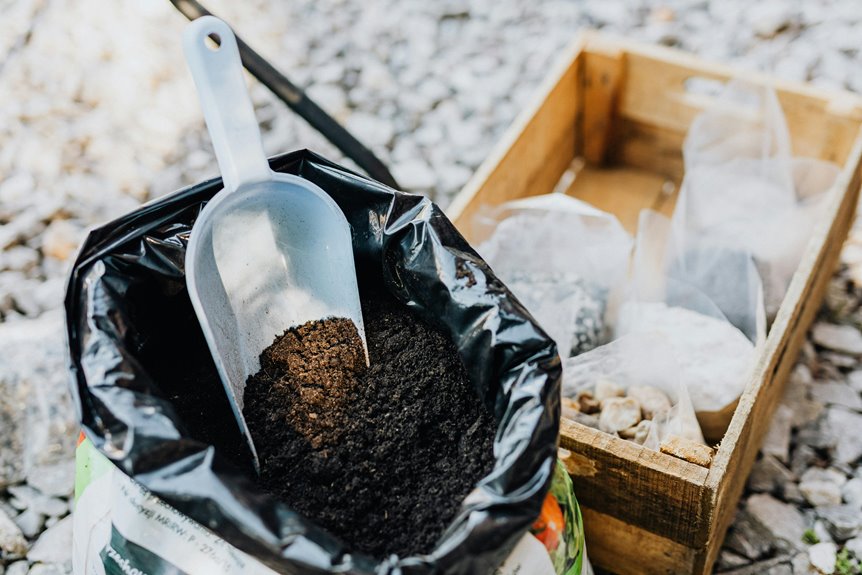
Now that you’ve picked your perfect spot, it’s time to dig in—literally. I excavate three to five inches of native soil, removing all organic material that’ll compromise your base preparation. Here’s where drainage matters: I lay down three-quarter-inch crushed rock, then two to three inches of road mulch, creating a solid foundation that lets water escape properly.
Next comes the compacted sub-base work. I use a plate compactor, pushing until I achieve ninety to ninety-five percent density. This effort matters because a firm, level surface prevents water pooling and supports your green’s integrity.
Throughout compaction, I constantly check my slope control, keeping everything within that critical three percent grade. When I finish, the base feels rock-solid—literally—and ready for your green’s installation.
Install Edging, Fringe, and Cup Locations
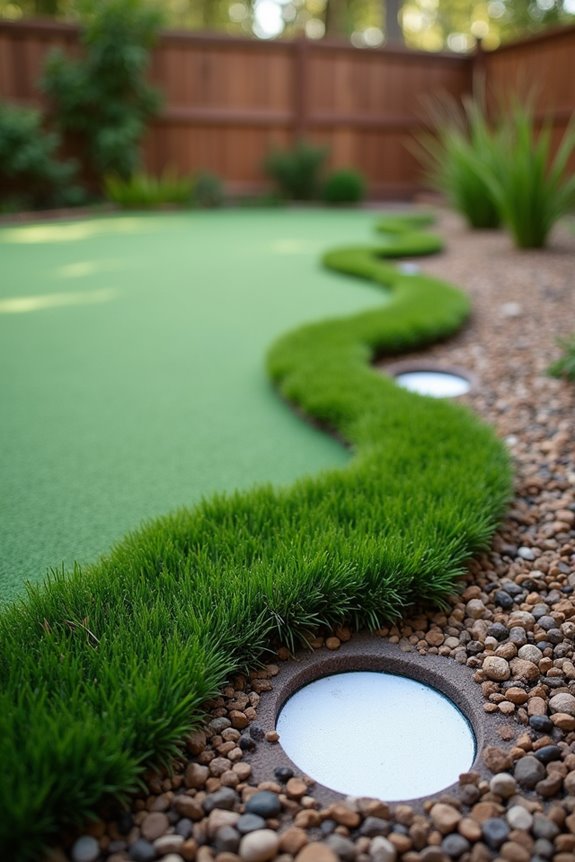
Now that you’ve got your base shaped and ready for drainage, it’s time to lock everything down with proper edging and figure out where those cups are going to sit. I’m going to walk you through installing the bend-a-board perimeter system and securing your fringe, which helps create a polished appearance for your project. Then we’ll talk about digging out those cup locations so your putting green plays right from day one.
Edging Installation Techniques
How’s your base and turf looking? Now comes the satisfying part—securing your perimeter with edging that’ll make your putting green look polished and professional. I use bend-a-board with composite stakes around the outer edge, placing five stakes per section for solid stability. This keeps everything flush and finished-looking. The edging serves double duty: it protects your investment while defining that clean boundary between your green and yard. I’ve learned that careful placement prevents shifting during play and weather changes. Your fringe blends into existing landscaping when you shape it around rocks and natural features. The edging anchors everything together, so you’re not constantly adjusting or worrying about edges lifting. It’s worth taking time here.
Cup Placement And Preparation
Cup Placement And Preparation
Where should your cups go, and how do you actually get them installed right? I mark hole locations on my aggregate base after removing a cup panel, then carefully cut the geotextile to fit around each cup sleeve. The cups need to be dug approximately 8 inches in diameter and 8 inches deep—precision matters here. I use cardboard or a tarp to keep my work area clean during installation, which honestly saves frustration later. Next, I install the cup sleeves and backfill with aggregate so the sleeve bottom rests securely on that base. Finally, I place the surrounding turf and fringe, then secure everything with 3-inch nails or staples around the cup area. Aligned seams and edging create that smooth, consistent surface.
Lay and Trim Your Synthetic Surface
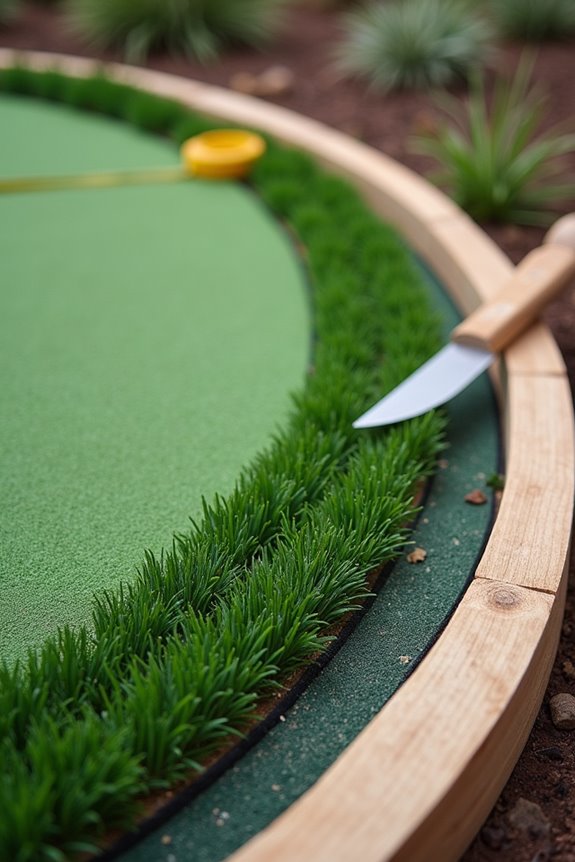
Getting your synthetic turf down correctly produces better results between a putting green that plays beautifully and one that frustrates you every time you step on it. I’ll unroll the turf and let it relax in the sun before securing anything. Aligning seams carefully is important—I blend them together so you won’t notice transitions during play. I staple edges perimetrically, spacing fasteners every 3–6 inches around the perimeter, then work inward with 1-inch staples every 3 square feet. Next, I cut around cups with a sharp utility knife, creating clean outlines matching your cup locations. Finally, I spread infill evenly at 0.5–1.5 pounds per square foot, rake it into the thatch, and verify flatness and seam integrity. This foundation keeps your green performing consistently.
Putt-Test for Breaks and Verify Green Speed
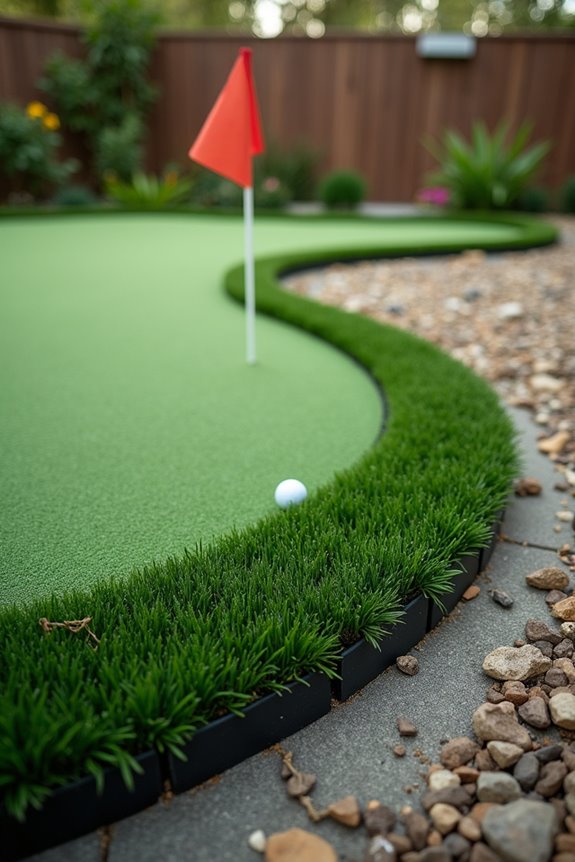
Now comes the moment that’ll tell you if all that careful installation actually paid off—it’s time to putt some balls and see how your green really plays. Roll multiple balls from different spots, watching where they naturally move to check for consistent break testing patterns toward your cup. I use a Stimpmeter reference—nylon typically rolls about 11 feet, sand-filled around 13 feet—to measure my green speed against my target. Here’s what matters: mark any seams or noticeable deviations that might create unexpected breaks. Test with both golf and soccer balls to understand how your infill notes affect roll characteristics. Repeat these tests under matching lighting and temperature conditions, because inconsistencies mean you’ll need leveling adjustments or infill modifications before you move forward.
Maintain Your Putting Green With Weekly Care
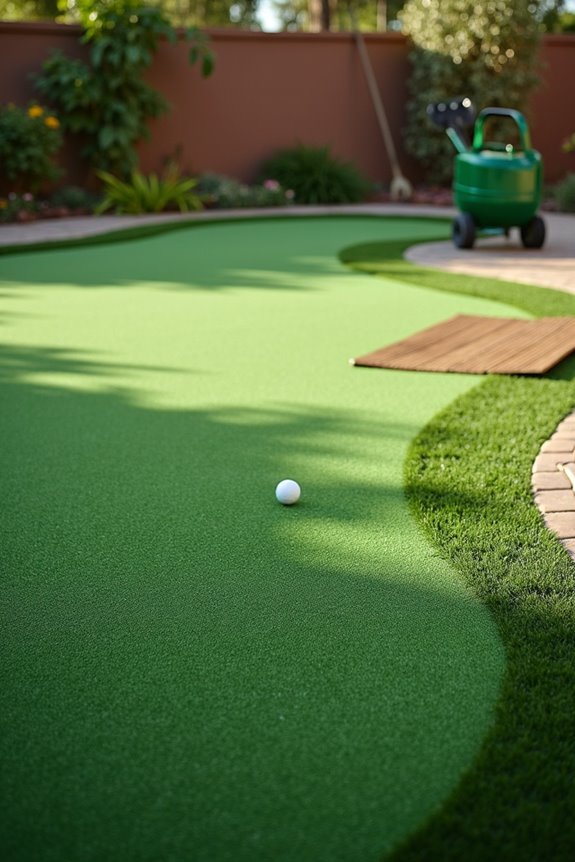
Once you’ve confirmed your green plays true and your speed matches your target, the real work begins—keeping it that way. I’ve learned that weekly maintenance separates thriving greens from disappointing ones, and honestly, it’s not complicated. For synthetic greens, I focus on brushing at least twice weekly to restore the nap and maintain consistent ball roll. Infill checks matter too—I inspect levels every week, adding material where it’s settled. Debris removal takes maybe fifteen minutes, clearing leaves and dirt that accumulate by nature. If you’re like me, you’ll find this routine becomes second nature. Stick with it, and you’ll preserve that quality surface you worked so hard to create. Your green will reward your consistency with reliable, predictable play every single time.